Struggling with cracks or chips in your newly reglazed bathtub? Don’t worry! We’re here to guide you through the process of repairs and patching for any reglazing challenges you may encounter. Reglazing, also referred to as refinishing or resurfacing, is a budget-friendly way to revitalize your bathtub’s appearance without the hefty cost of replacement. However, occasional wear and tear might require some attention. In this comprehensive guide, we address common concerns about reglazing repairs and provide effective solutions to ensure your bathtub remains in pristine condition. Looking to give your bathtub a makeover? Imagine your tub looking as good as new – with VT Lakewood Bathtub Refinishing, it’s more than possible! Our experienced team knows just what to do to bring your vision to life. Contact us now to get started!
Can Reglazing Fix a Crack in a Tub?
Reglazing can effectively tackle minor cracks on the surface of your bathtub. This process involves applying a new coating over the existing surface, effectively sealing small cracks and imperfections. However, it’s essential to evaluate the severity of the crack before proceeding with reglazing. While hairline cracks or superficial damage can usually be resolved with reglazing, deeper cracks may need extra attention.
How to Repair a Chip in a Reglazed Tub?
Repairing a chip in a reglazed tub requires meticulous attention to detail. Here’s a step-by-step guide to effectively address this issue:
1. Clean the Area: Begin by thoroughly cleaning the chipped area with a mild detergent and water to remove any dirt, grime, or soap residue.
2. Sand the Chip: Use fine-grit sandpaper to gently smooth the edges of the chip, creating a slightly rough surface for better adhesion of repair materials.
3. Apply Epoxy Filler: Fill the chipped area with an epoxy filler specifically designed for bathtub repairs, ensuring thorough coverage according to the manufacturer’s instructions. Allow the filler to dry completely.
4. Sand Again: After the epoxy filler has dried, lightly sand the repaired area to achieve a smooth surface, seamlessly blending it with the rest of the tub.
5. Apply Touch-Up Paint: Finish the repair by applying touch-up paint or acrylic enamel that matches the bathtub’s color. Allow the paint to dry completely before using the bathtub.
Solutions to Bathtub Reglazing Repairs and Patching Problems
Consider these solutions to effectively address reglazing repairs and patching problems:
- Professional Repair Services: For complex repairs or extensive damage, consider hiring professional bathtub repair services for customized solutions.
- DIY Repair Kits: Many hardware stores offer DIY repair kits specifically designed for reglazing repairs, allowing homeowners to handle minor issues themselves.
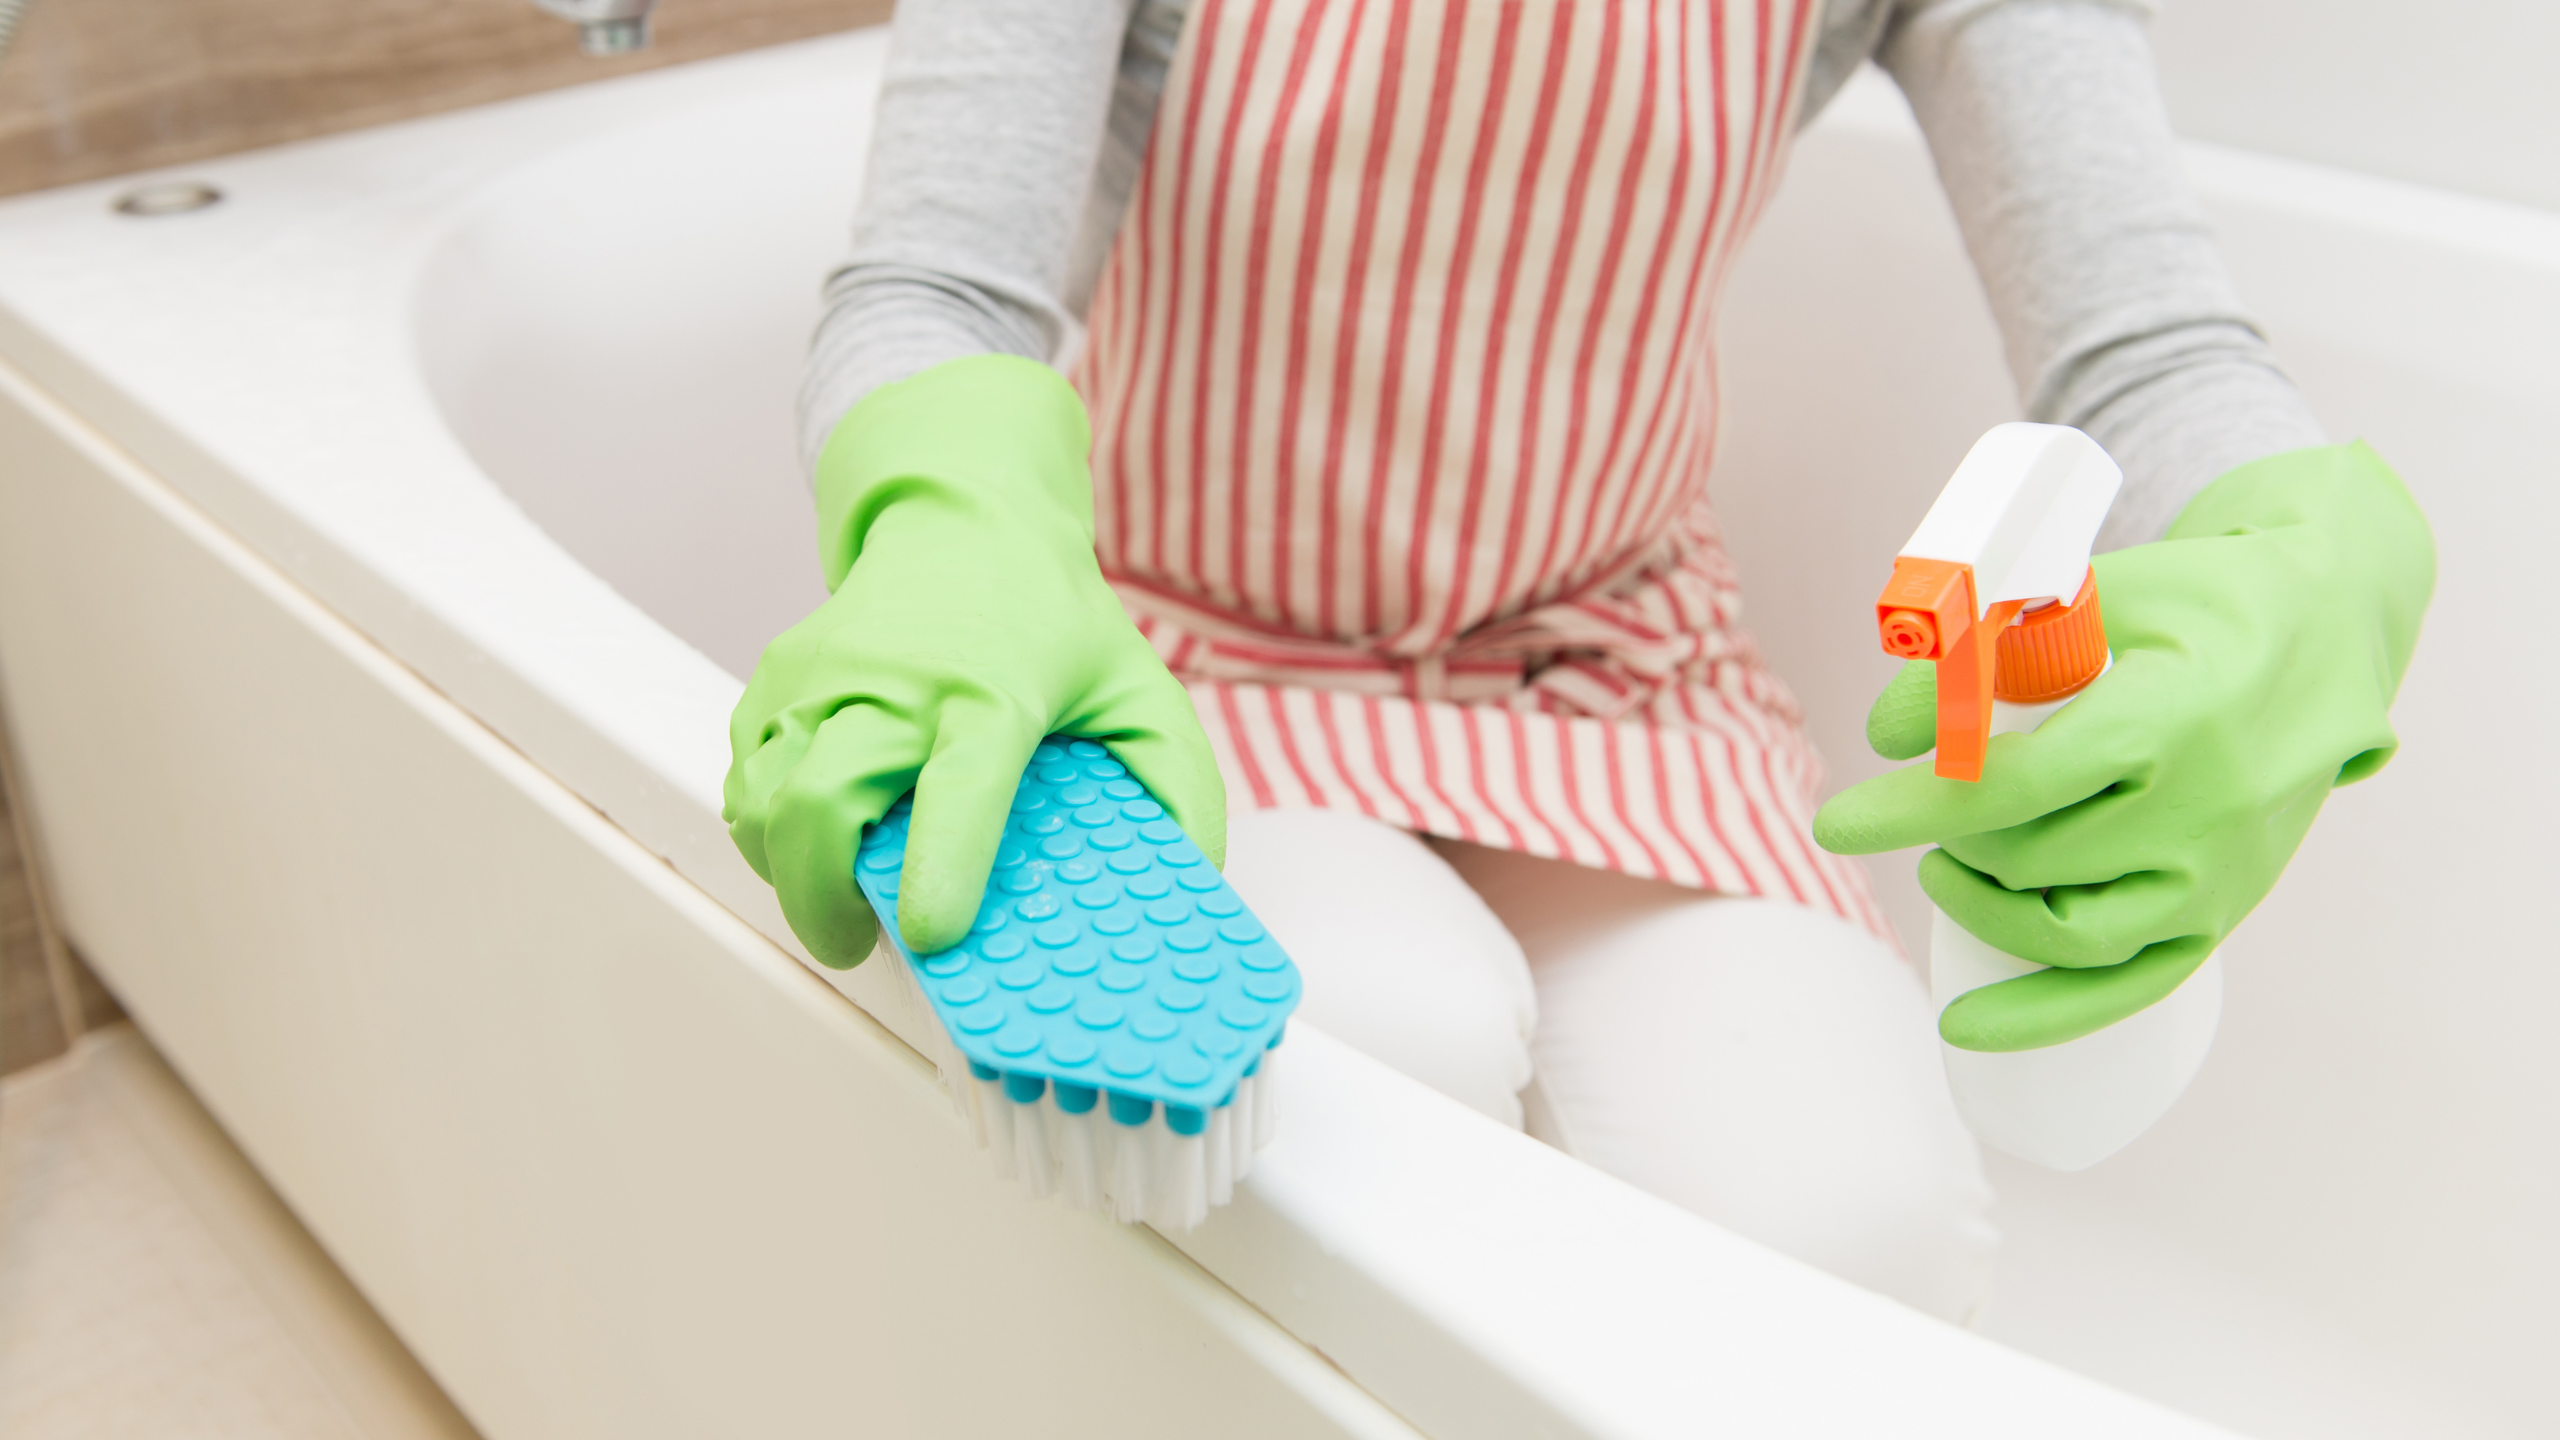
- Regular Maintenance: Implement a routine maintenance routine using mild cleaners and soft sponges to prolong the bathtub’s lifespan.
- Protective Coatings: Apply a protective coating over the reglazed surface to enhance durability and resistance against scratches and chips.
- Prompt Repairs: Address chips, cracks, or scratches promptly to prevent further damage and maintain the integrity of the bathtub.
Conclusion
Reglazing provides an affordable way to breathe new life into your bathtub, enhancing the aesthetic appeal of your bathroom. While minor repairs may occasionally be needed, the benefits of reglazing far outweigh the maintenance required. By following the insights and solutions provided in this guide, you can effectively manage common reglazing repair challenges and preserve your bathtub’s elegance for years to come.
