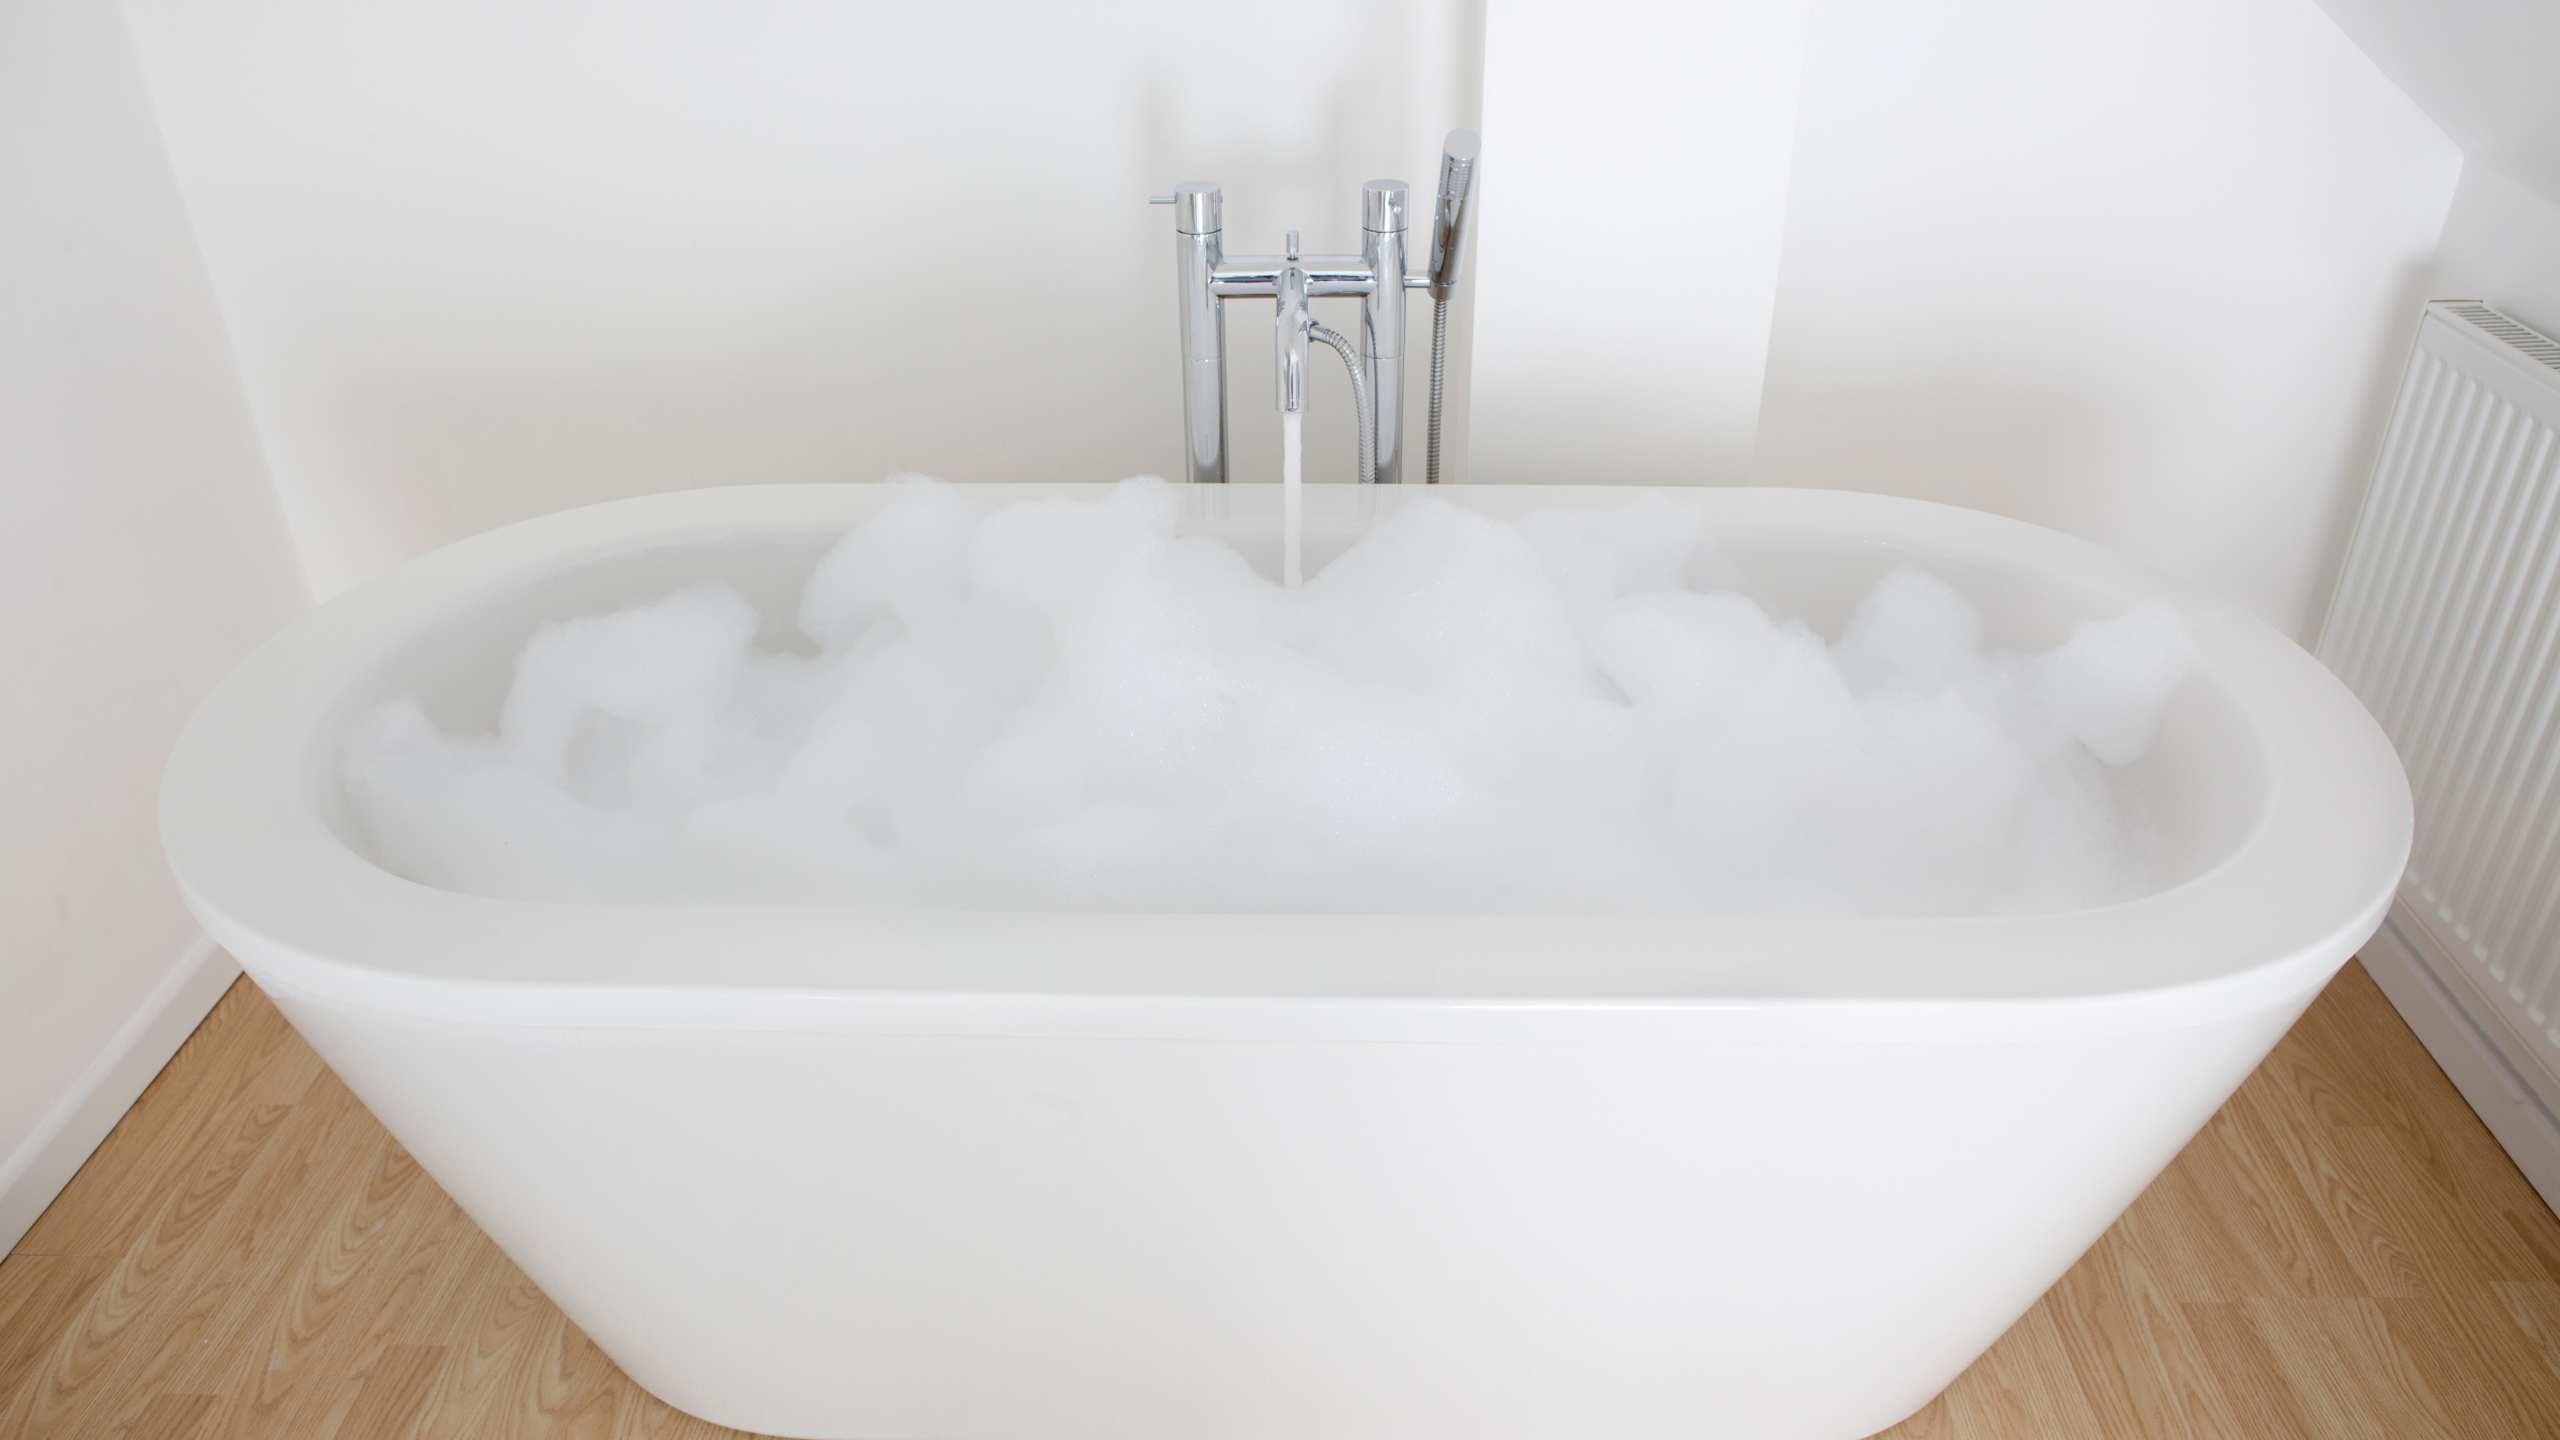
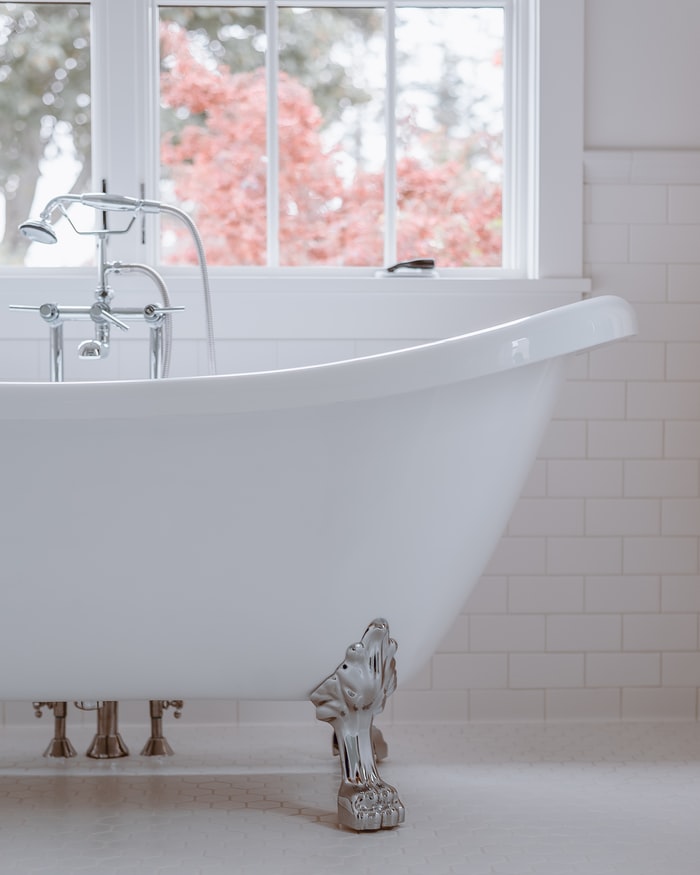
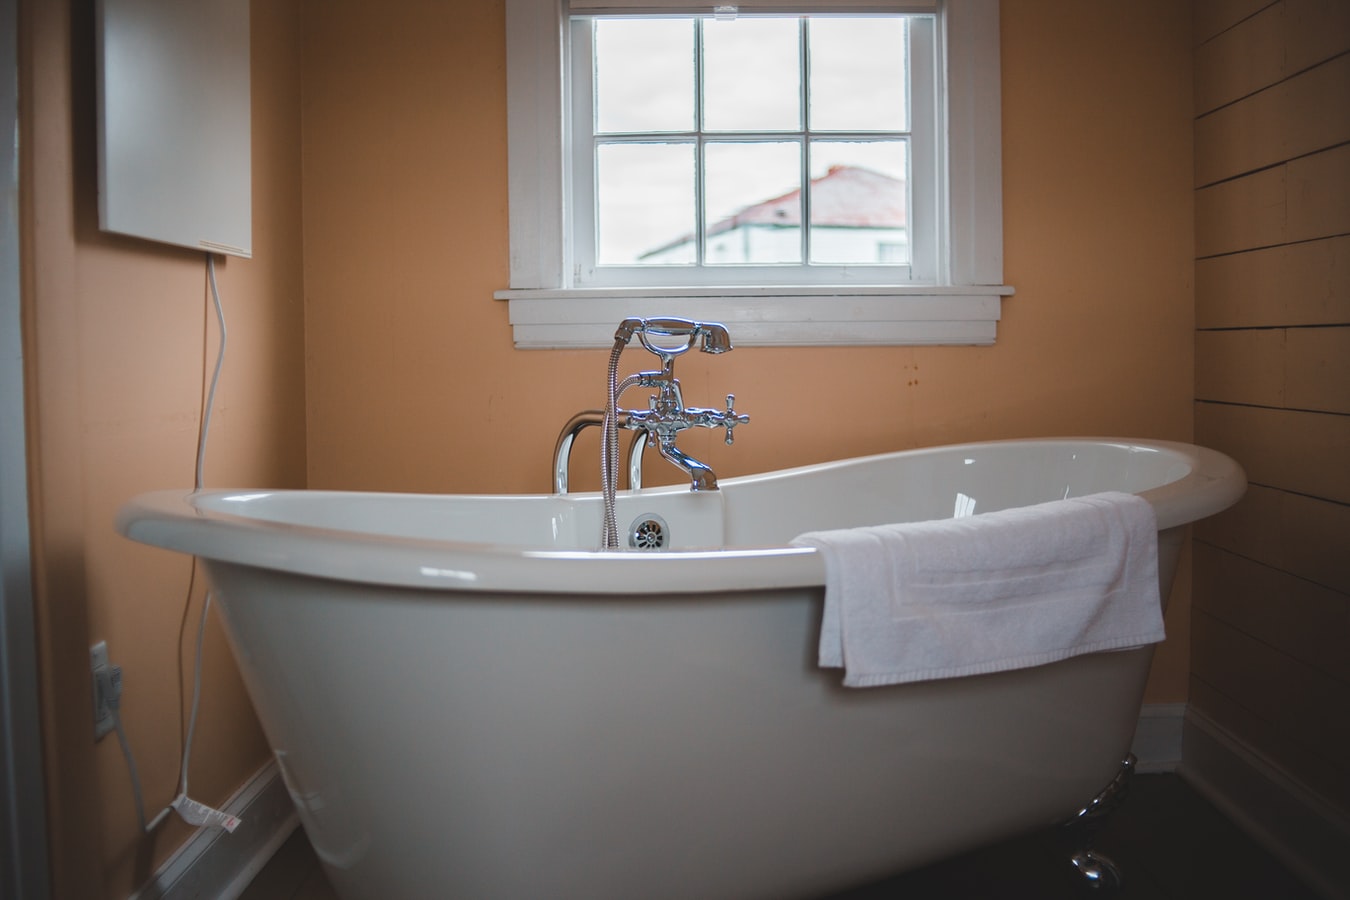
You’ve finally decided to tackle that old bathtub surround, and you want it done right. It can be a big, labor-intensive job, but these instructions will help you get the job done in no time.
First, find the studs on your wall with a stud finder or drill holes throughout your bathroom until you hit a stud. Once this is complete, remove any screws or nails holding up the tub surround and set them aside for later use. Next, take off all of the faucets on top of the tub and unscrew any fixtures from behind the tub before removing it from its current position. Now that everything is disconnected from your walls move to one side of the room and have someone hold up the tub while you disconnect it at the other end. Once everything is disconnected, set up your new surround and reconnect anything that needs to be connected (i.e., faucets)
The entire process shouldn’t take more than a day or two if you do this right!
Now go grab some coffee, put on an episode of “How I Met Your Mother”, and get started with these instructions for how to install a tub surround!
How to Install a Tub Surround
1. Mark a cardboard template for the plumbing cutouts, then tape it to the tub Surround panel that will cover the plumbing wall. Make the cutouts in the panel with a hole saw or a jigsaw
2. Test-fit surround panels according to the manufacturer’s suggested installation sequence and tape them in place. Draw lines along the tops of all the panels, at the outside edges of side panels, and on the tub rim, along the bottoms of panels.
3. Remove panels in reverse order, one at a time. As they are exposed, outline the inside edges of each panel on the surface of the wall.
4. Apply a heavy bead of tub & tile caulk to the tub rim, following the marks made where the panels will rest.
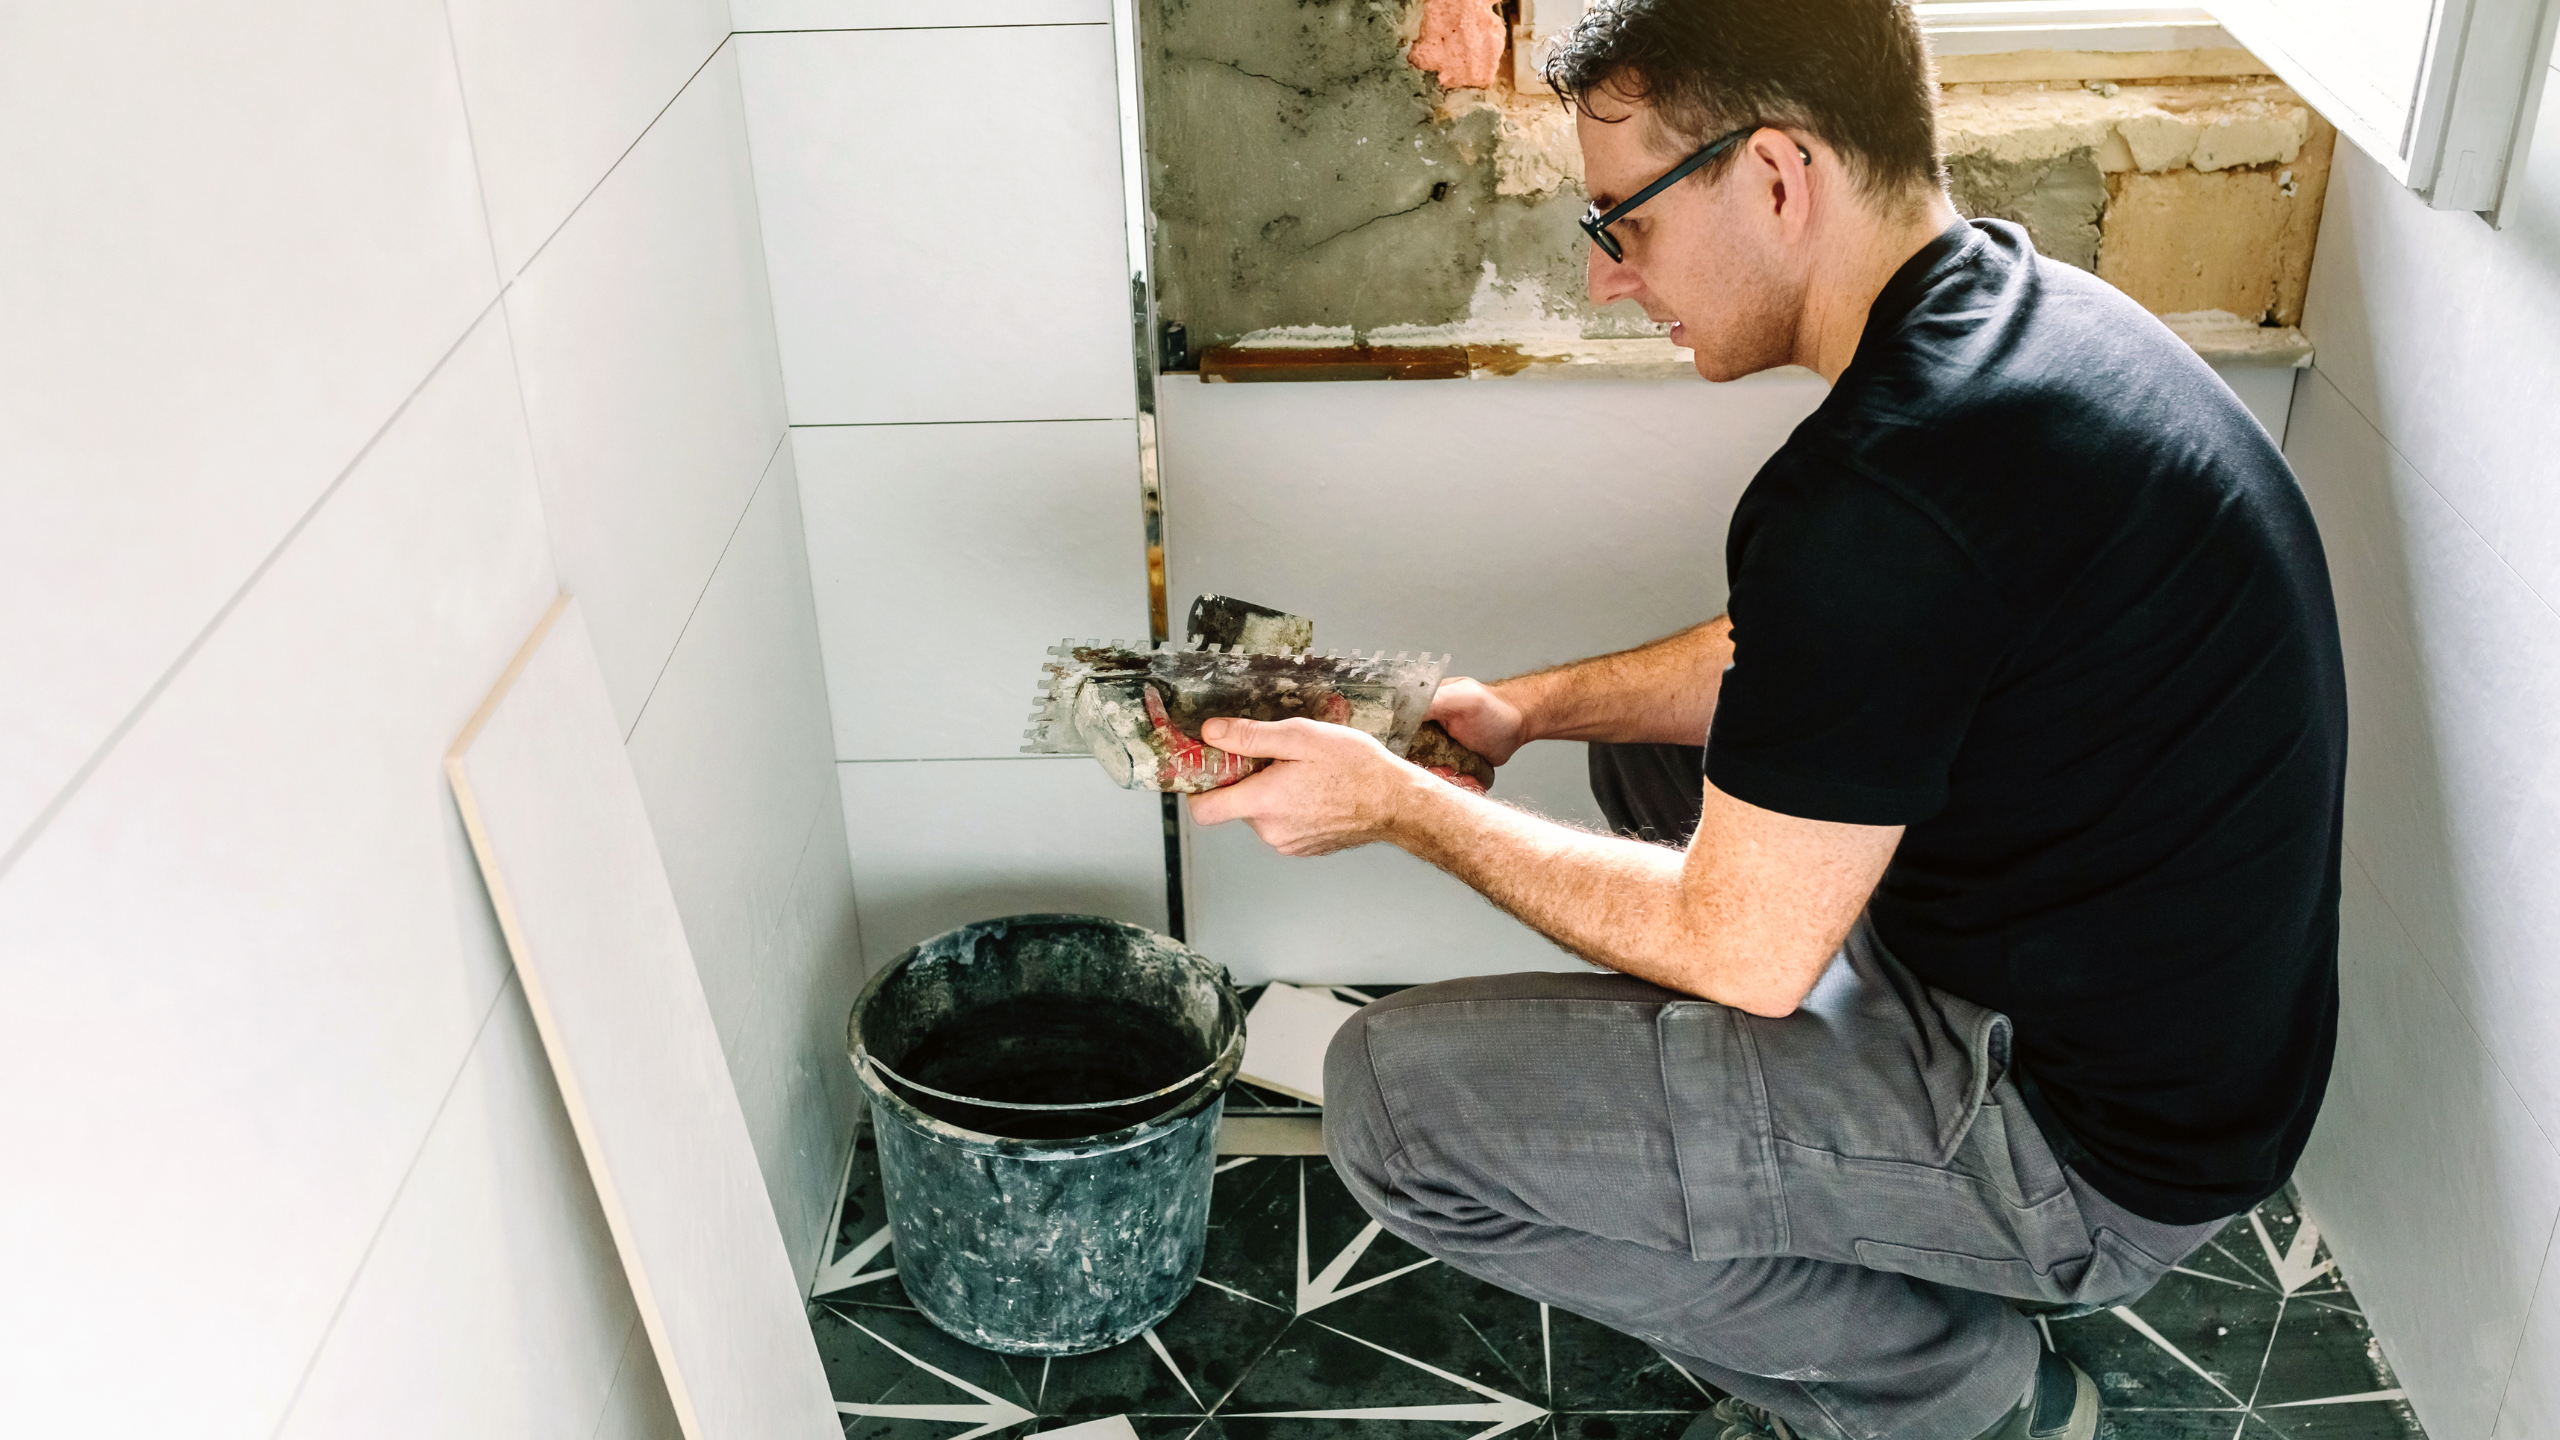
5. Apply panel adhesive recommended by the manufacturer to the wall in the outline area for the first panel. Carefully press the panel in place.
6. Install the rest of the panels in the proper sequence, following the manufacturer’s directions for connecting panels and sealing the seams. Press all the panels in place, then brace for drying.
Tired of having to fix your surround panels? We’ve got you covered. we detailed the steps for installing and removing surround panel kits. These instructions should help reduce installation errors that may result in a leaky tub or water damage to your bathroom walls. The best part is you don’t have to do all the work yourself!
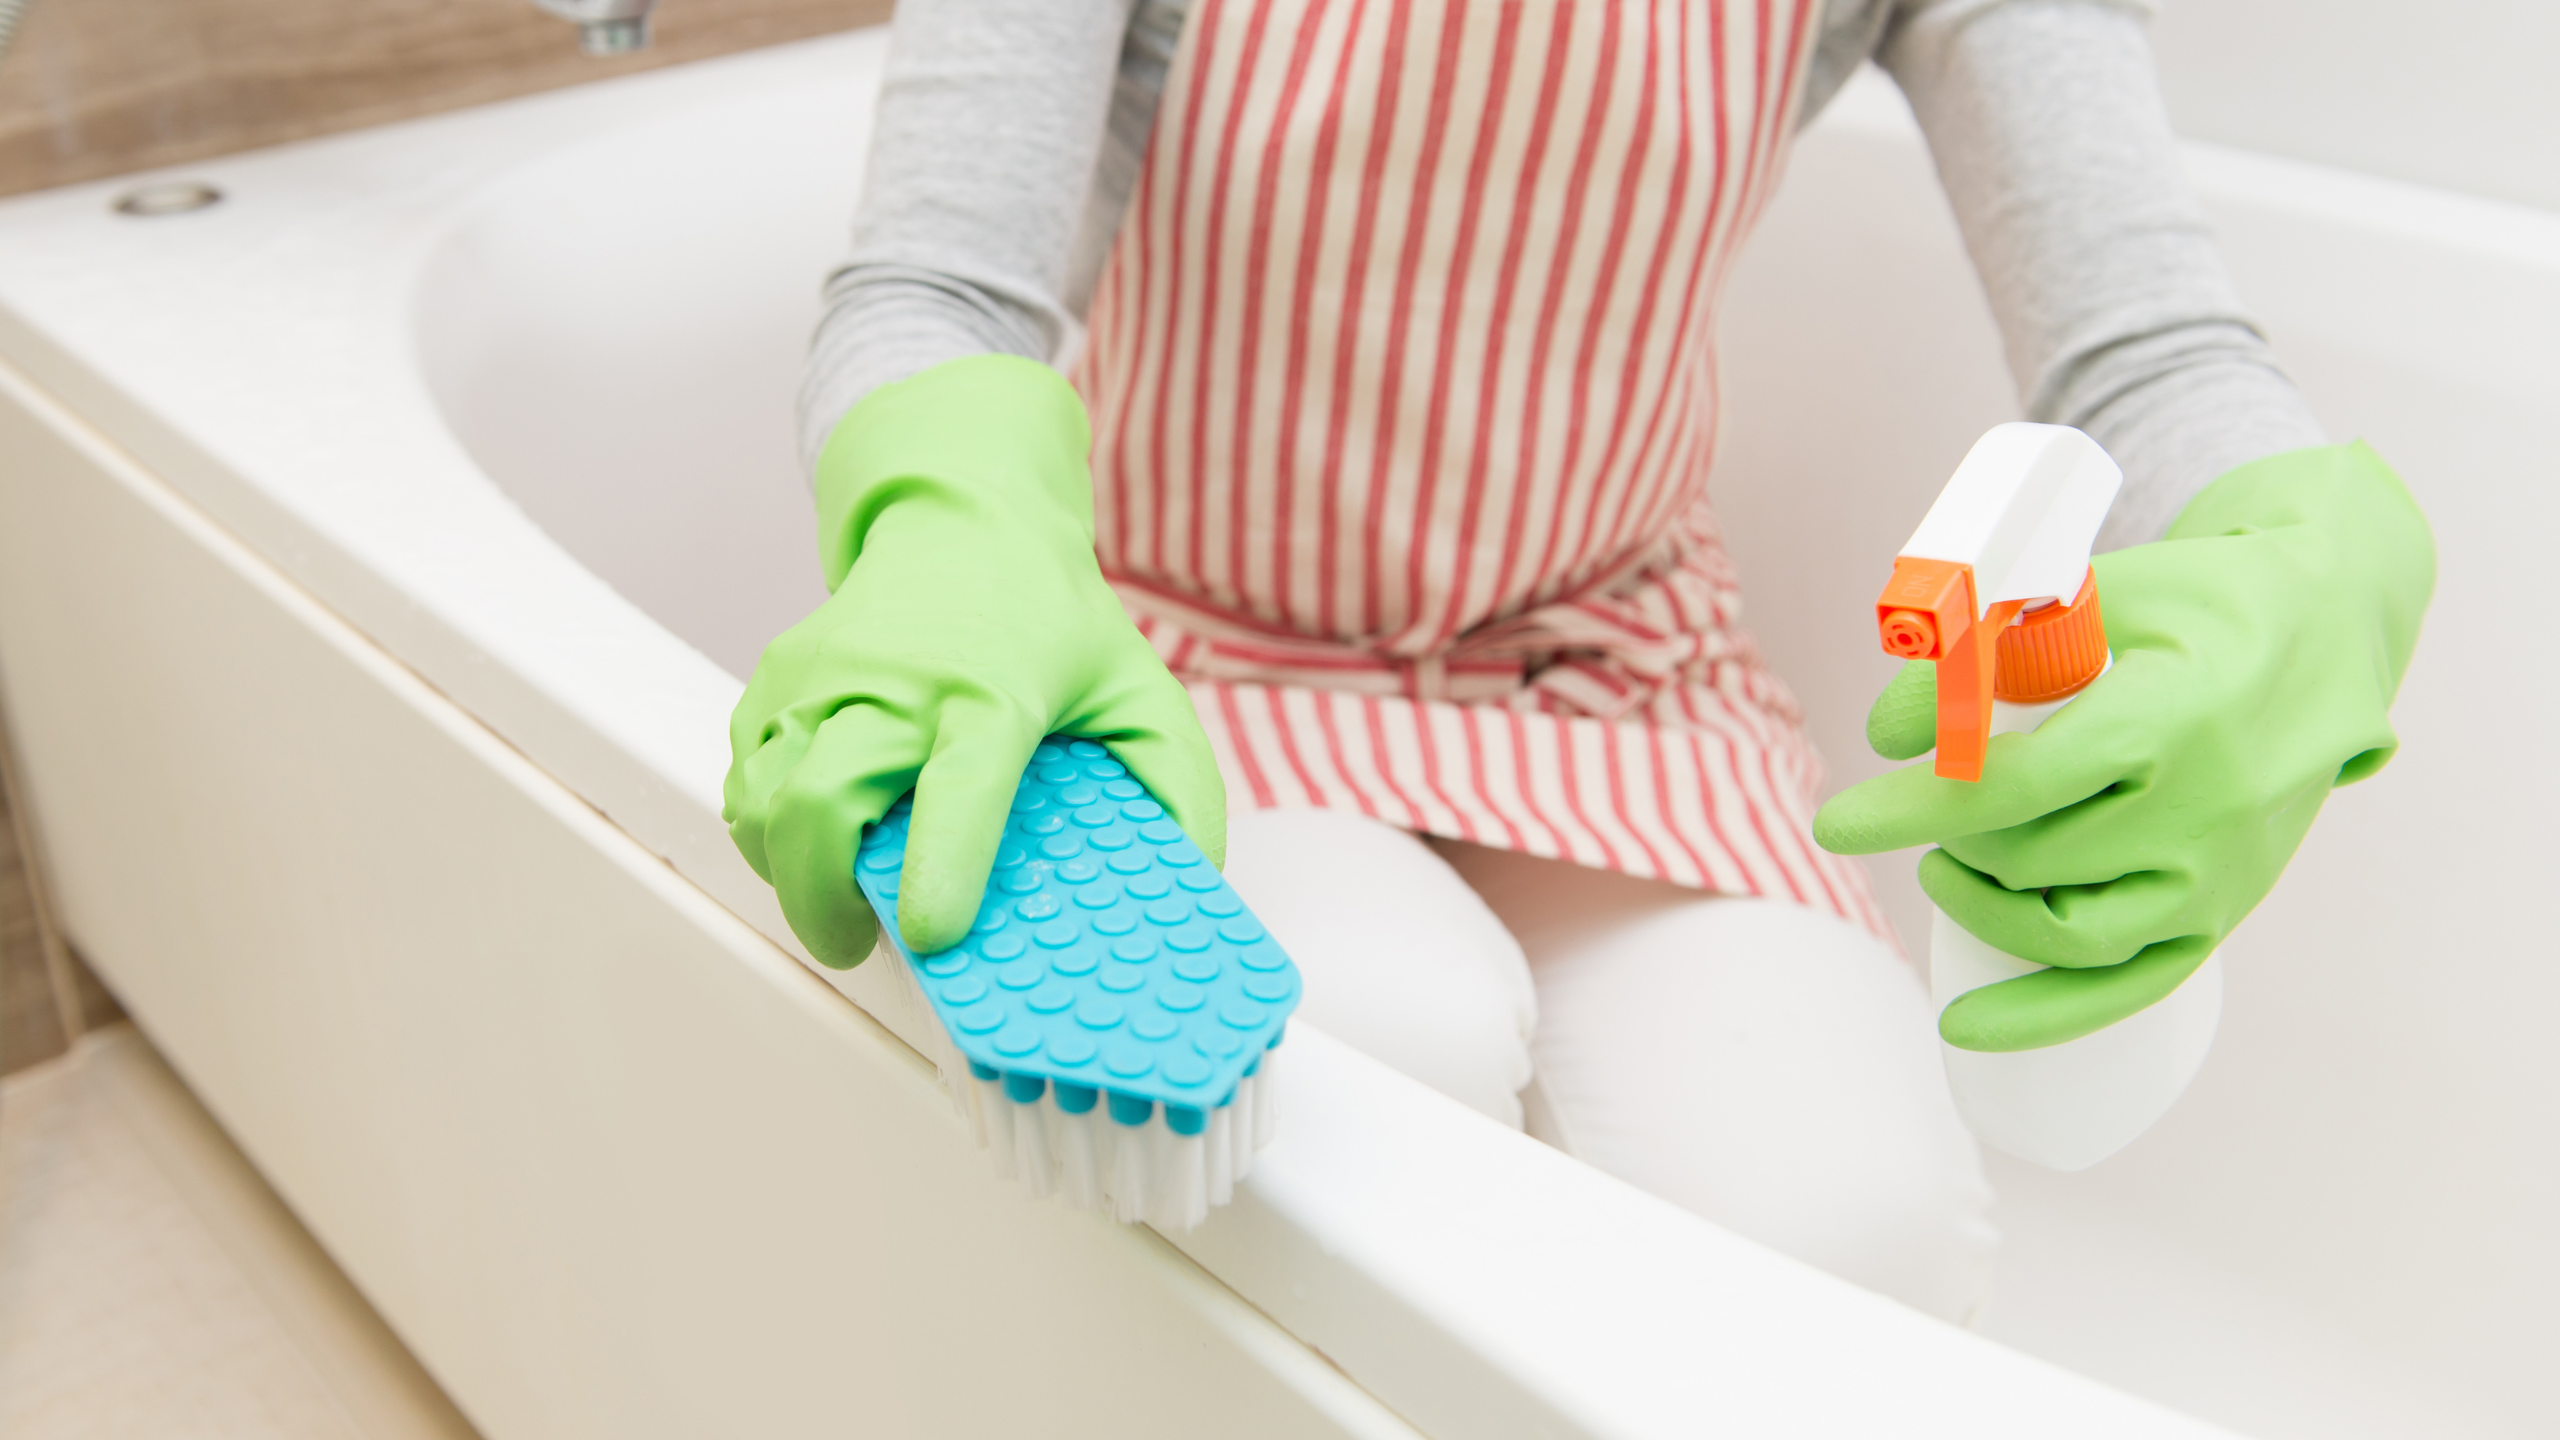
It’s not just about the new look, though. A new surround can help you save money on your energy bills and it will also make cleaning easier. You won’t have to worry about mold or mildew building up behind the tiles because they are sealed in place with silicone sealant.
It’s not easy to get the perfect bathroom you’ve always wanted without making a mess or spending thousands of dollars.
The good news is that we can help! We are experts at tub reglazing and refinishing in VT Lakewood, so let us take care of your project while saving money on labor costs. Here’s what we’ll do for you..
Our professional team can install a tub surround in just one day while keeping your home clean and tidy. We do this by using our patented “No Mess Method” which allows us to work with no dust or debris getting into your home.
If this sounds like something that would be good for you, then give us a call today and we can set up an appointment for one of our professionals to come out and install a brand new surround for you!
Give us a call today at (848) 233-3008 or fill out our contact form online here if this sounds like something that would work well for you!
More tips to read here: How to Remove Ceramic Wall Tile the Easy Way