
Install ceramic wall tile, a great way to add texture and color to any bathroom. You can make your own design, or choose from one of our pre-designed options. We will walk you through the process from start to finish!
1. Mark layout pattern, then begin installation with the second row of tiles from the floor If the layout requires Cut tiles for this row, mark and cut tiles for the entire row at one time
2. Make straight cuts with a tile cutter. Place the tile face up on the tile cutter, with one side flush against the cutting guide. Adjust the cutting tool to the specified width, then score a groove by pulling the cutting wheel firmly throughout the tile. Snap the tile over the scored line, as directed by the tool manufacturer.
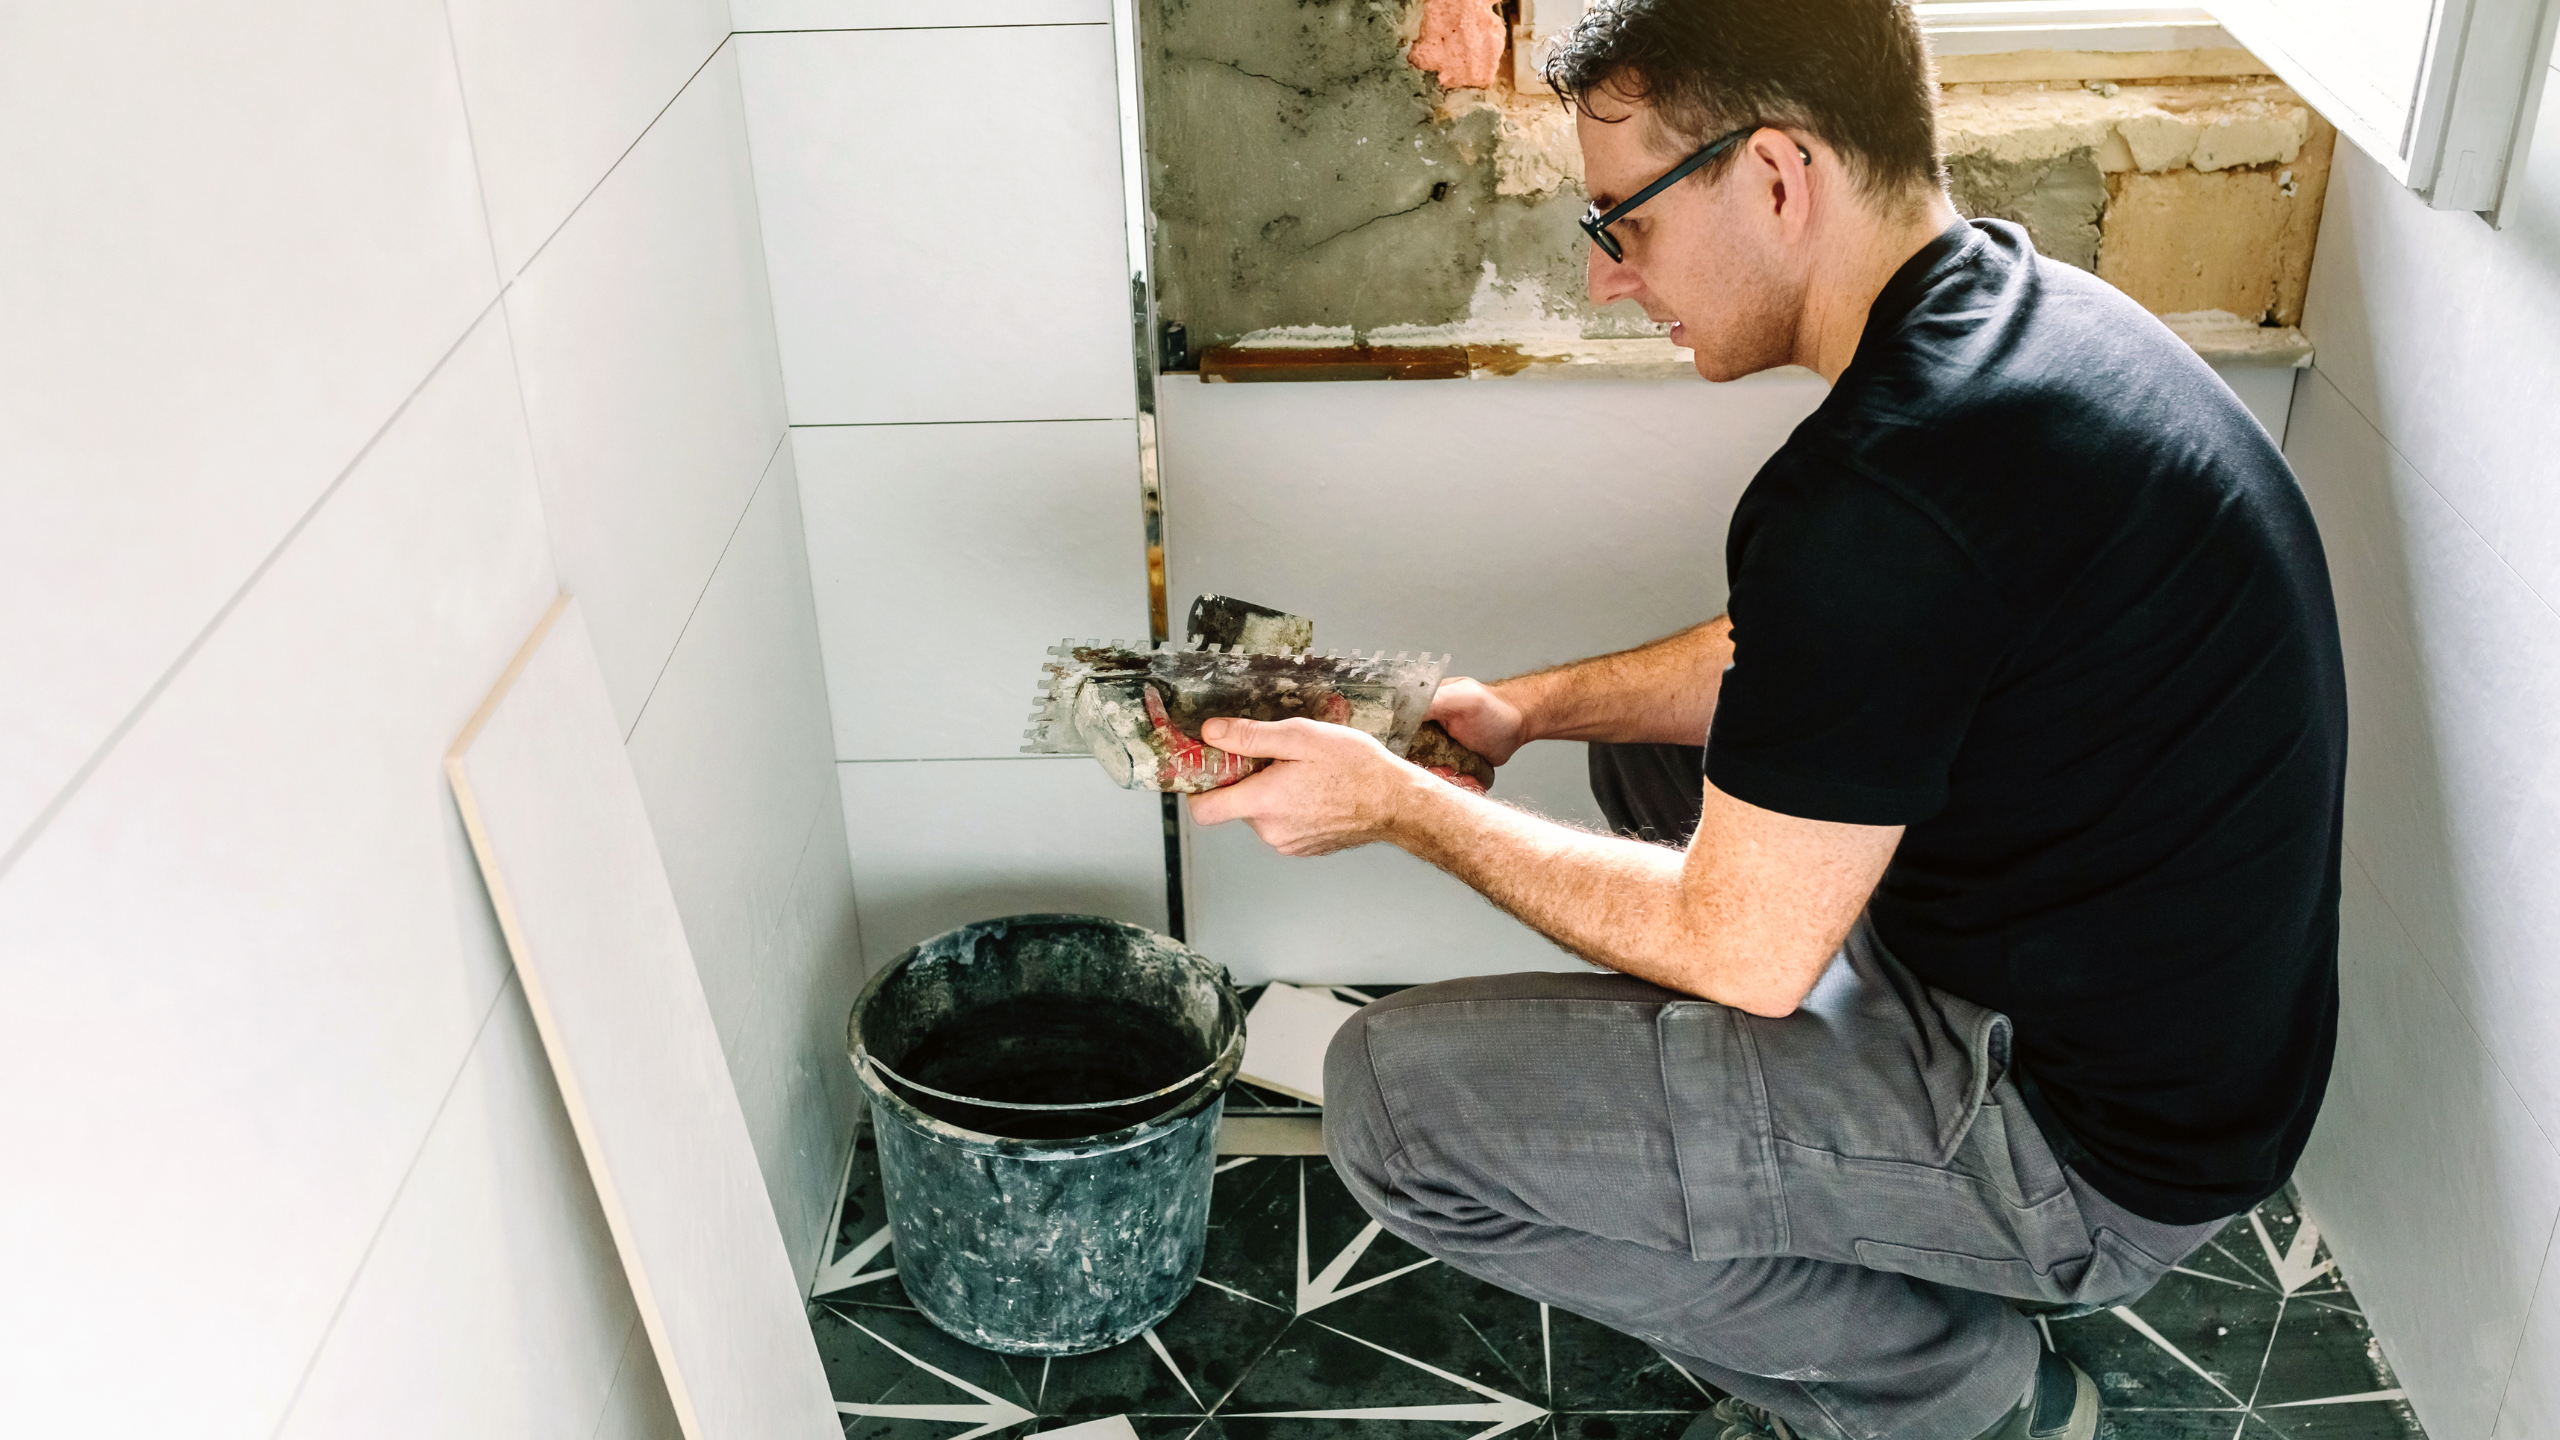
3. Mix a small batch of dry-set mortar containing a latex additive. (Some mortar has additively mixed in by manufacturer and some mortar should have additive mixed in separately.) Cover the rear of the initial tile with adhesive, using a 1/4 notched trowel.
ALTERNATE: Spread adhesive on a small section of the wail, then set the tiles into the adhesive. Dry-set adhesive sets quickly, so work fast if you choose this installation method.
4. Beginning near the center of the wall, install ceramic wall tile with a slight twisting motion, aligning it exactly with the horizontal and vertical reference lines.
5. Continue to install ceramic wall tile, working from the middle to the sides in a pyramid pattern. Ensure that you keep tiles aligned with the reference lines. If tiles aren’t self-spacing, use plastic spacers inserted in the corner joints to maintain even grout lines (inset). The bed’s base row should really be the final row of full tiles installed.
6. Make notches and curved cuts in tile by clamping the tile to a flat surface, then cutting it with a rod saw (a specialty saw with an abrasive blade designed for cutting tile).
7. As small sections of tile are completed, “set” the tile by laying a scrap 2 x 4 wrapped with carpet onto the tile and rapping it lightly with a mallet. This embeds the tile solidly in the adhesive and creates an apartment, even surface.
8. To mark tiles for straight cuts, begin by tapping 1/8″ spacers against the surfaces below and to the side of the tile. Position a tile directly over the last full tile installed, then place the third tile so the edge butts against the spacers. Trace the edge of the most effective tile onto the center tile to mark it for cutting.
9. Cut holes for plumbing stub-outs by marking the outline of the hole on the tile, then drilling around the edges of the outline, using a ceramic tile bit. Gently knock out the waste material with a hammer. Rough edges of the hole will undoubtedly be contained in protective plates on fixtures (called escutcheons).
10. Install trim tiles, such as the bullnose edge tiles shown above, at border areas. Wipe away excess mortar along the top edge of edge tiles.
11. Use single bullnose and double bullnose tiles at outside corners to cover the rough edges of the adjoining tiles.
12. Install ceramic accessories by applying dry-set mortar to the backside, then pressing the accessory into place. Use masking tape to hold the accessory in place until the adhesive dries (inset).
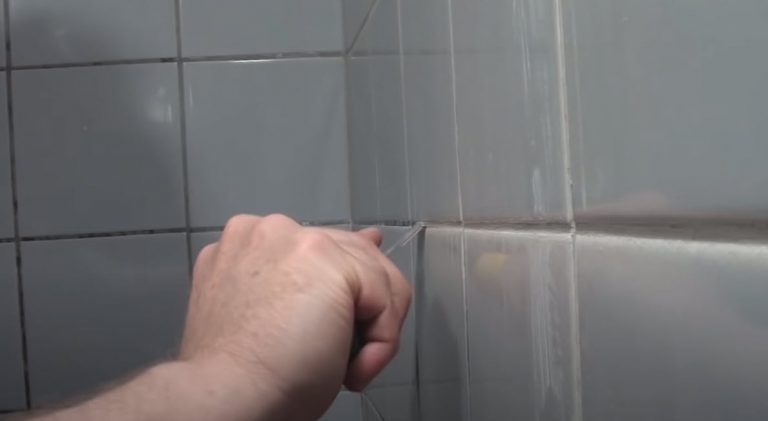
13. Let the mortar dry completely (12 to 24 hours), then mix a batch of grout containing latex additive. Apply grout with a rubber grout float, using a sweeping motion to force it deep into the joints. Do not grout the joints along with the bathtub, floor, and room corners. These expansion joints will be caulked instead.
14. Wipe away excess grout with a damp sponge, then dress the grout lines by drawing a small dowel along all joints.
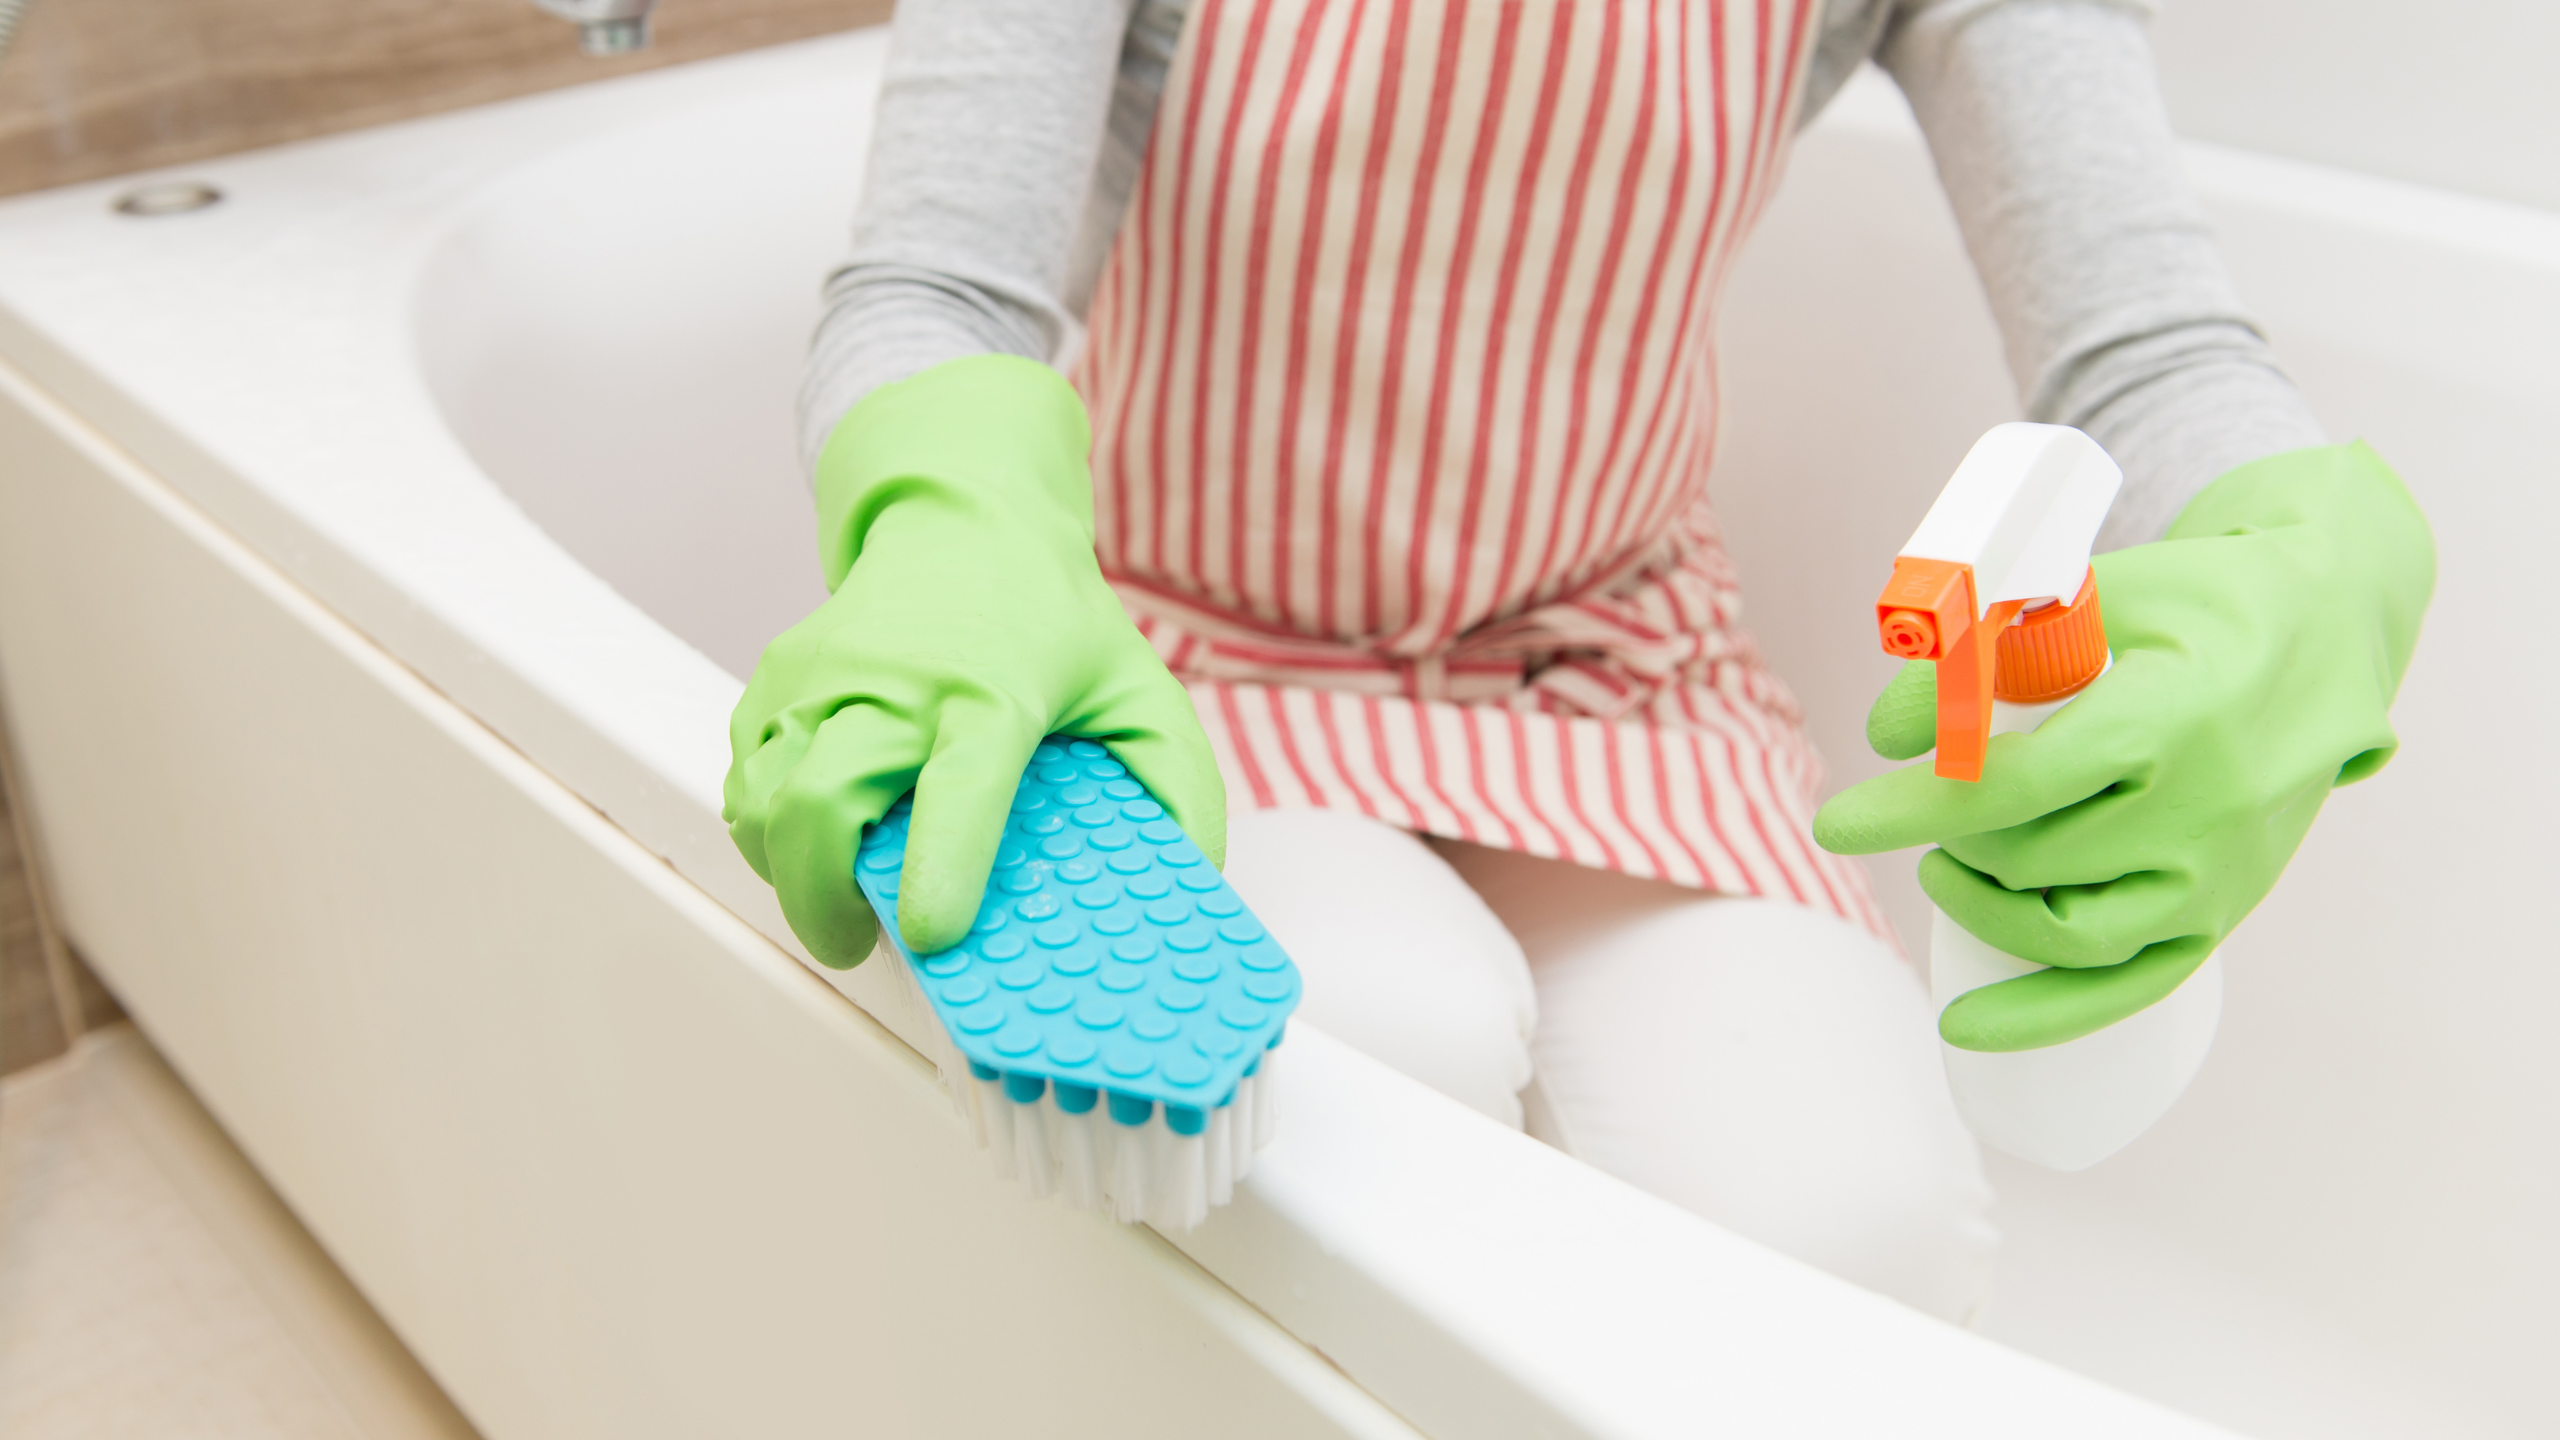
15. When the grout is completely hardened, brush the alkaline sealer onto the joints with a small paintbrush. Alkaline sealers are better than silicone products for preventing stains and mildew.
16. Seal expansion joints around the bathtub, floor, and room corners with tub & tile caulk. After the caulk dries, buff tile with a dry, soft cloth.
Also read about “A Guide to Installing The Right Shower, Tub, And Whirlpool“.
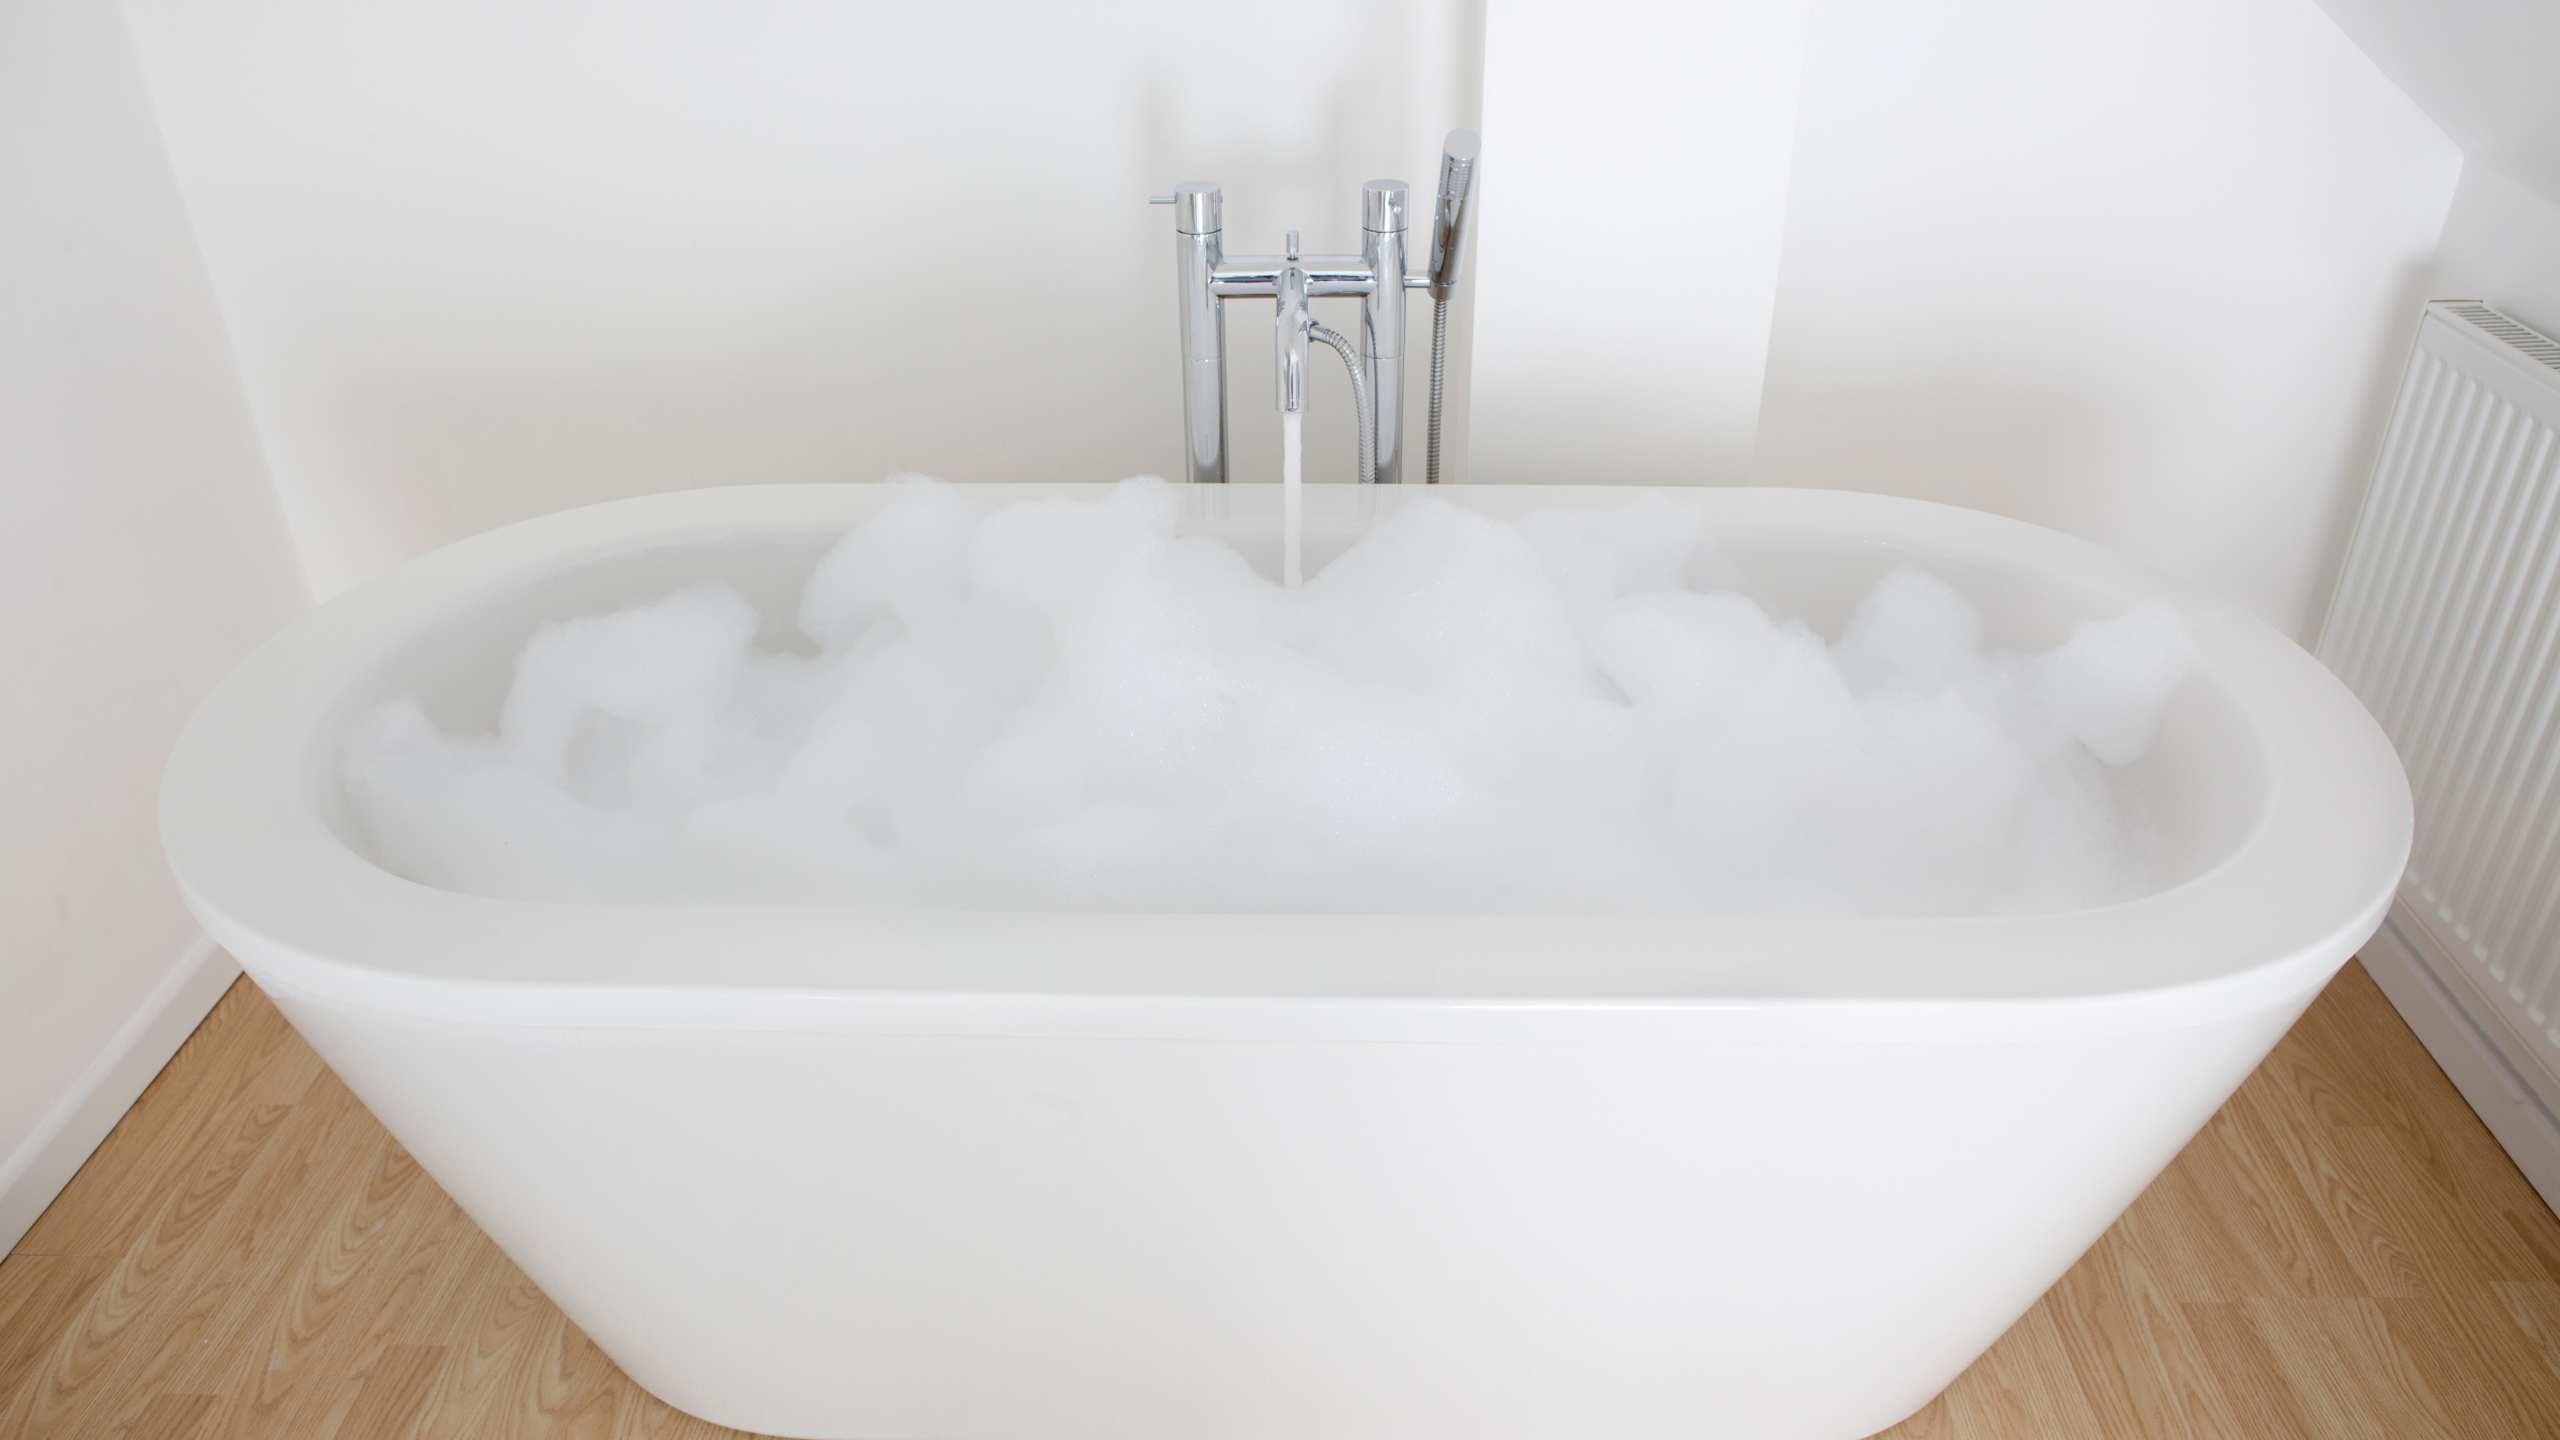
Looking For A Professional Tub Reglazing Company In Lakewood NJ?
You’ve come to the right place. We are VT Lakewood Tub Reglazing And Refinishing, and we specialize in bathtub refinishing. Our team is professional, experienced, and committed to providing you with quality workmanship at affordable prices.
We are the best at what we do. With years of experience, our team is ready to take on your project and make it look new again. Our workmanship is guaranteed and you can trust that we will get the job done right.
Our professional and experienced team is committed to providing you with a quality service that will exceed your expectations. You’ll be able to trust us for all of your tub refinishing needs.
You deserve a beautiful home with an updated bathroom that looks brand new! We offer competitive pricing and free estimates so contact us today to schedule yours!
Give us a call today! We’ll come out and give you an estimate on how much it would cost to have your tub refinished or re-glazed by our professionals, so there’s no risk involved when deciding whether or not to hire us.
Contact VT Lakewood Tub Reglazing And Refinishing today to learn more about our services at (848) 233-3008 for a free quote!