Do you want to remove bathroom fixtures? Do you need help with the process of removing bathroom fixtures? We have all the information and guidance that you need. This article will give in-depth instructions on how to remove your old bathtub, sink, toilet, and more!
Begin the removal phase of your project by removing fixtures located near the door, such as the toilet and sink. Even if you plan to keep these fixtures. get them out of the way so they are not damaged. and to clear the way for removing other fixtures. Also, take out cabinets. vanities, electrical fixtures, and bathroom accessories.
Remove old bathtubs and shower Stalls only after you have created a clear path to get them out. That may mean removing trim and the wall and floor coverings first. Label trim and other items you plan to reuse then store them in an out-of-the-way spot. Plan to get help removing heavy fixtures, like a bathtub.
Turn off the water supply and electrical power to the bathroom before removing electrical and plumbing fixtures, or cutting into walls or ceilings.
By using the right tools for the job a reciprocating saw with a combination blade cuts through old mortar and tile grout. turning a time-consuming chore into a sample job.
Also check here for Tools & Materials for Bathroom Remodeling
Can I replace a bathroom faucet myself?
If you want to replace a bathroom faucet, for example, there are some things that you will need to consider. First off, is the work going to be done inside or outside of your home? If it’s in-home and not too difficult then yes, replacing a bathroom faucet can be easy if you have all the right tools on hand.
However, if this job needs to be done outside of your home (such as at an office building) then it would make more sense to hire someone else because they’re trained professionals. Second thing: do you know what kind of type of fixture/faucet system that you need to be installed with?
Thirdly: how much time do I have before needing water from my new fixture? If you answered yes to all three questions, then this article might help.
Tips for Removing Bathroom Fixtures

- Cut corroded bolts with a hacksaw if you cannot loosen the nut with a wrench and you wish to remove the old fixture intact. Often, floor bolts on toilet bowls, like the one above, must be sawed off.
- Turn off shutoff valves mounted near fixtures on the water supply lines, before disconnecting water pipes. Sinks and toilets usually are equipped with easily accessible shutoff valves, but many bathtubs and showers are not.
- Crack corroded nuts with a nut splitter if you cannot reach the bolt with a hacksaw or wrench. Bolts that connect toilet tanks and bowls (above) and coupling nuts that connect faucets to supply lines can be difficult to reach. Nut splitters are sold at most automobile parts stores.
- Turn off the main shutoff valve when there are no individual shutoff valves at the fixture is removed. Main shutoff valves usually are located in your basement, near the water meter.
- Plug drain pipes with a rag or a pipe cap if they will be open for more than a few minutes. Uncovered waste pipes allow dangerous sewer gases to escape into your home.
Removing a toilet
Begin by opening the old toilet’s tank and flushing it. This will remove all of the water from inside, so you can empty it without fear of creating a leak or mess in your home. Now remove any bolts on either side of the base with a wrench (make sure to use an adjustable one for different size nuts), then lift off the bowl and set aside. Take care not to break anything that is still attached to the pipes as these pieces are often tough to find replacements for if they get lost. Note: You may need professional help when removing some more complex fixtures like sinks or bathtubs due to their weight and how difficult they might be depending on what type you have.
Disconnect the sink from the wall
To disconnect the sink from the wall, first, remove any screws or bolts holding it to your countertop. Next, you can unscrew and pull out some of the pipes that are still attached to it with a wrench (make sure not to break anything). Now if there is a pipe coming up from underneath, you will need to detach those as well. If everything has been disconnected at this point then lift off the fixture and set it aside so all pipes are visible on one side for easier access.
If you have an old-fashioned claw foot bathtub then follow these same steps but start by opening both spigots in order to drain them before taking apart anything else.
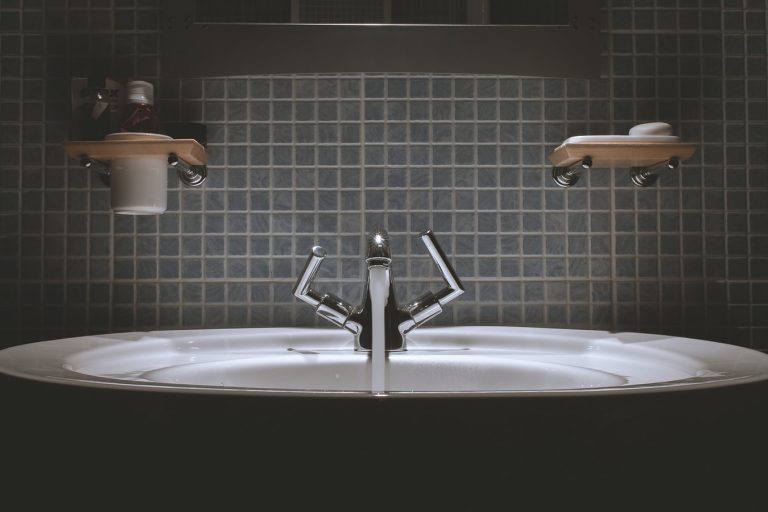
Unscrew and remove faucet handles, spouts, and screws
First, unscrew and remove the faucet handles by hand. Next, remove any spouts or screws holding them in place (usually you can do this with a pipe wrench).
Finally, detach the water supply lines at their connection point on top of your countertop.
Now if there is an old-fashioned claw foot bathtub then follow these same steps but start by opening both spigots in order to drain them before taking apart anything else. The pipes should be exposed for easy access after all parts have been removed from under them. Disconnecting everything will require some elbow grease so put on gloves now to avoid damaging valuables or getting dirty hands later! After removing each piece carefully set them aside somewhere safe.
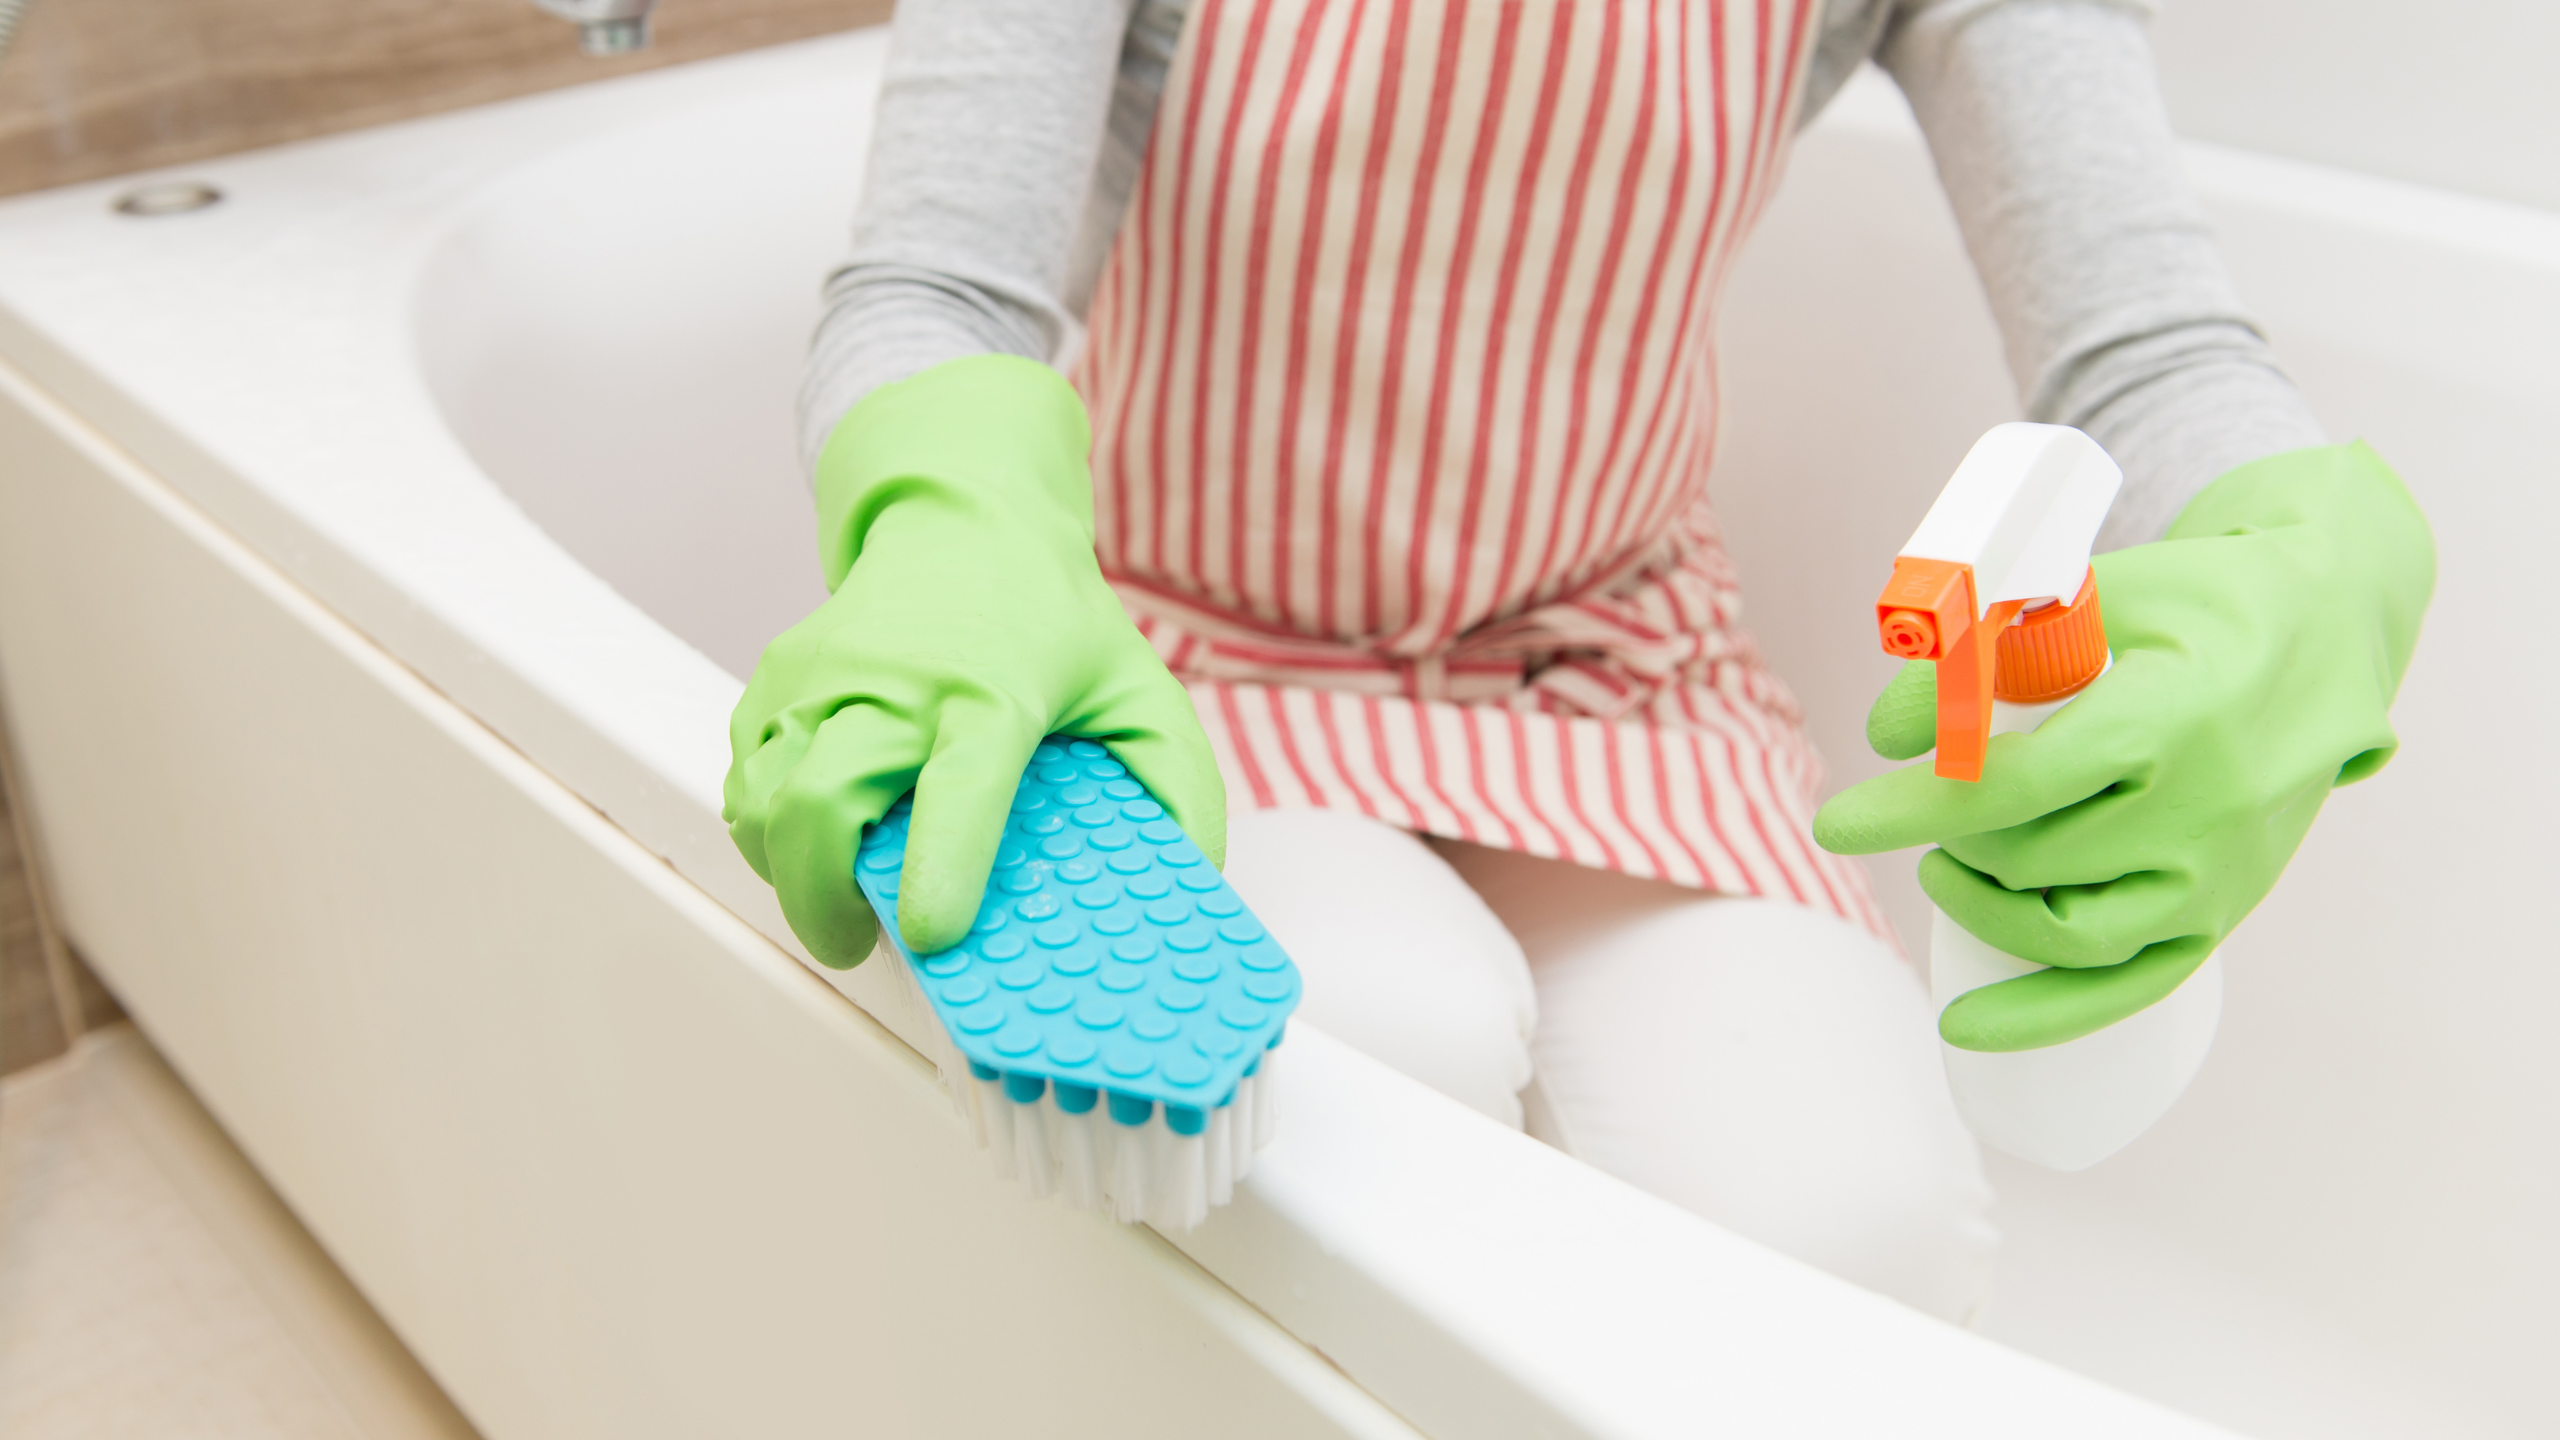
How to loosen up any caulking around your tub or shower
If your tub or shower has caulk that is hard to remove, try using a heat gun on it. This will soften up the caulking and make it easier to take off.
You can also use a putty knife for getting under any part of the caulking you can’t get with the blade of a utility knife.
Apply petroleum jelly around the edges of where you want to keep your caulk line so once you’re done removing all old pieces if there’s still some left stuck in place then it won’t stick back together when you apply new glue over top.
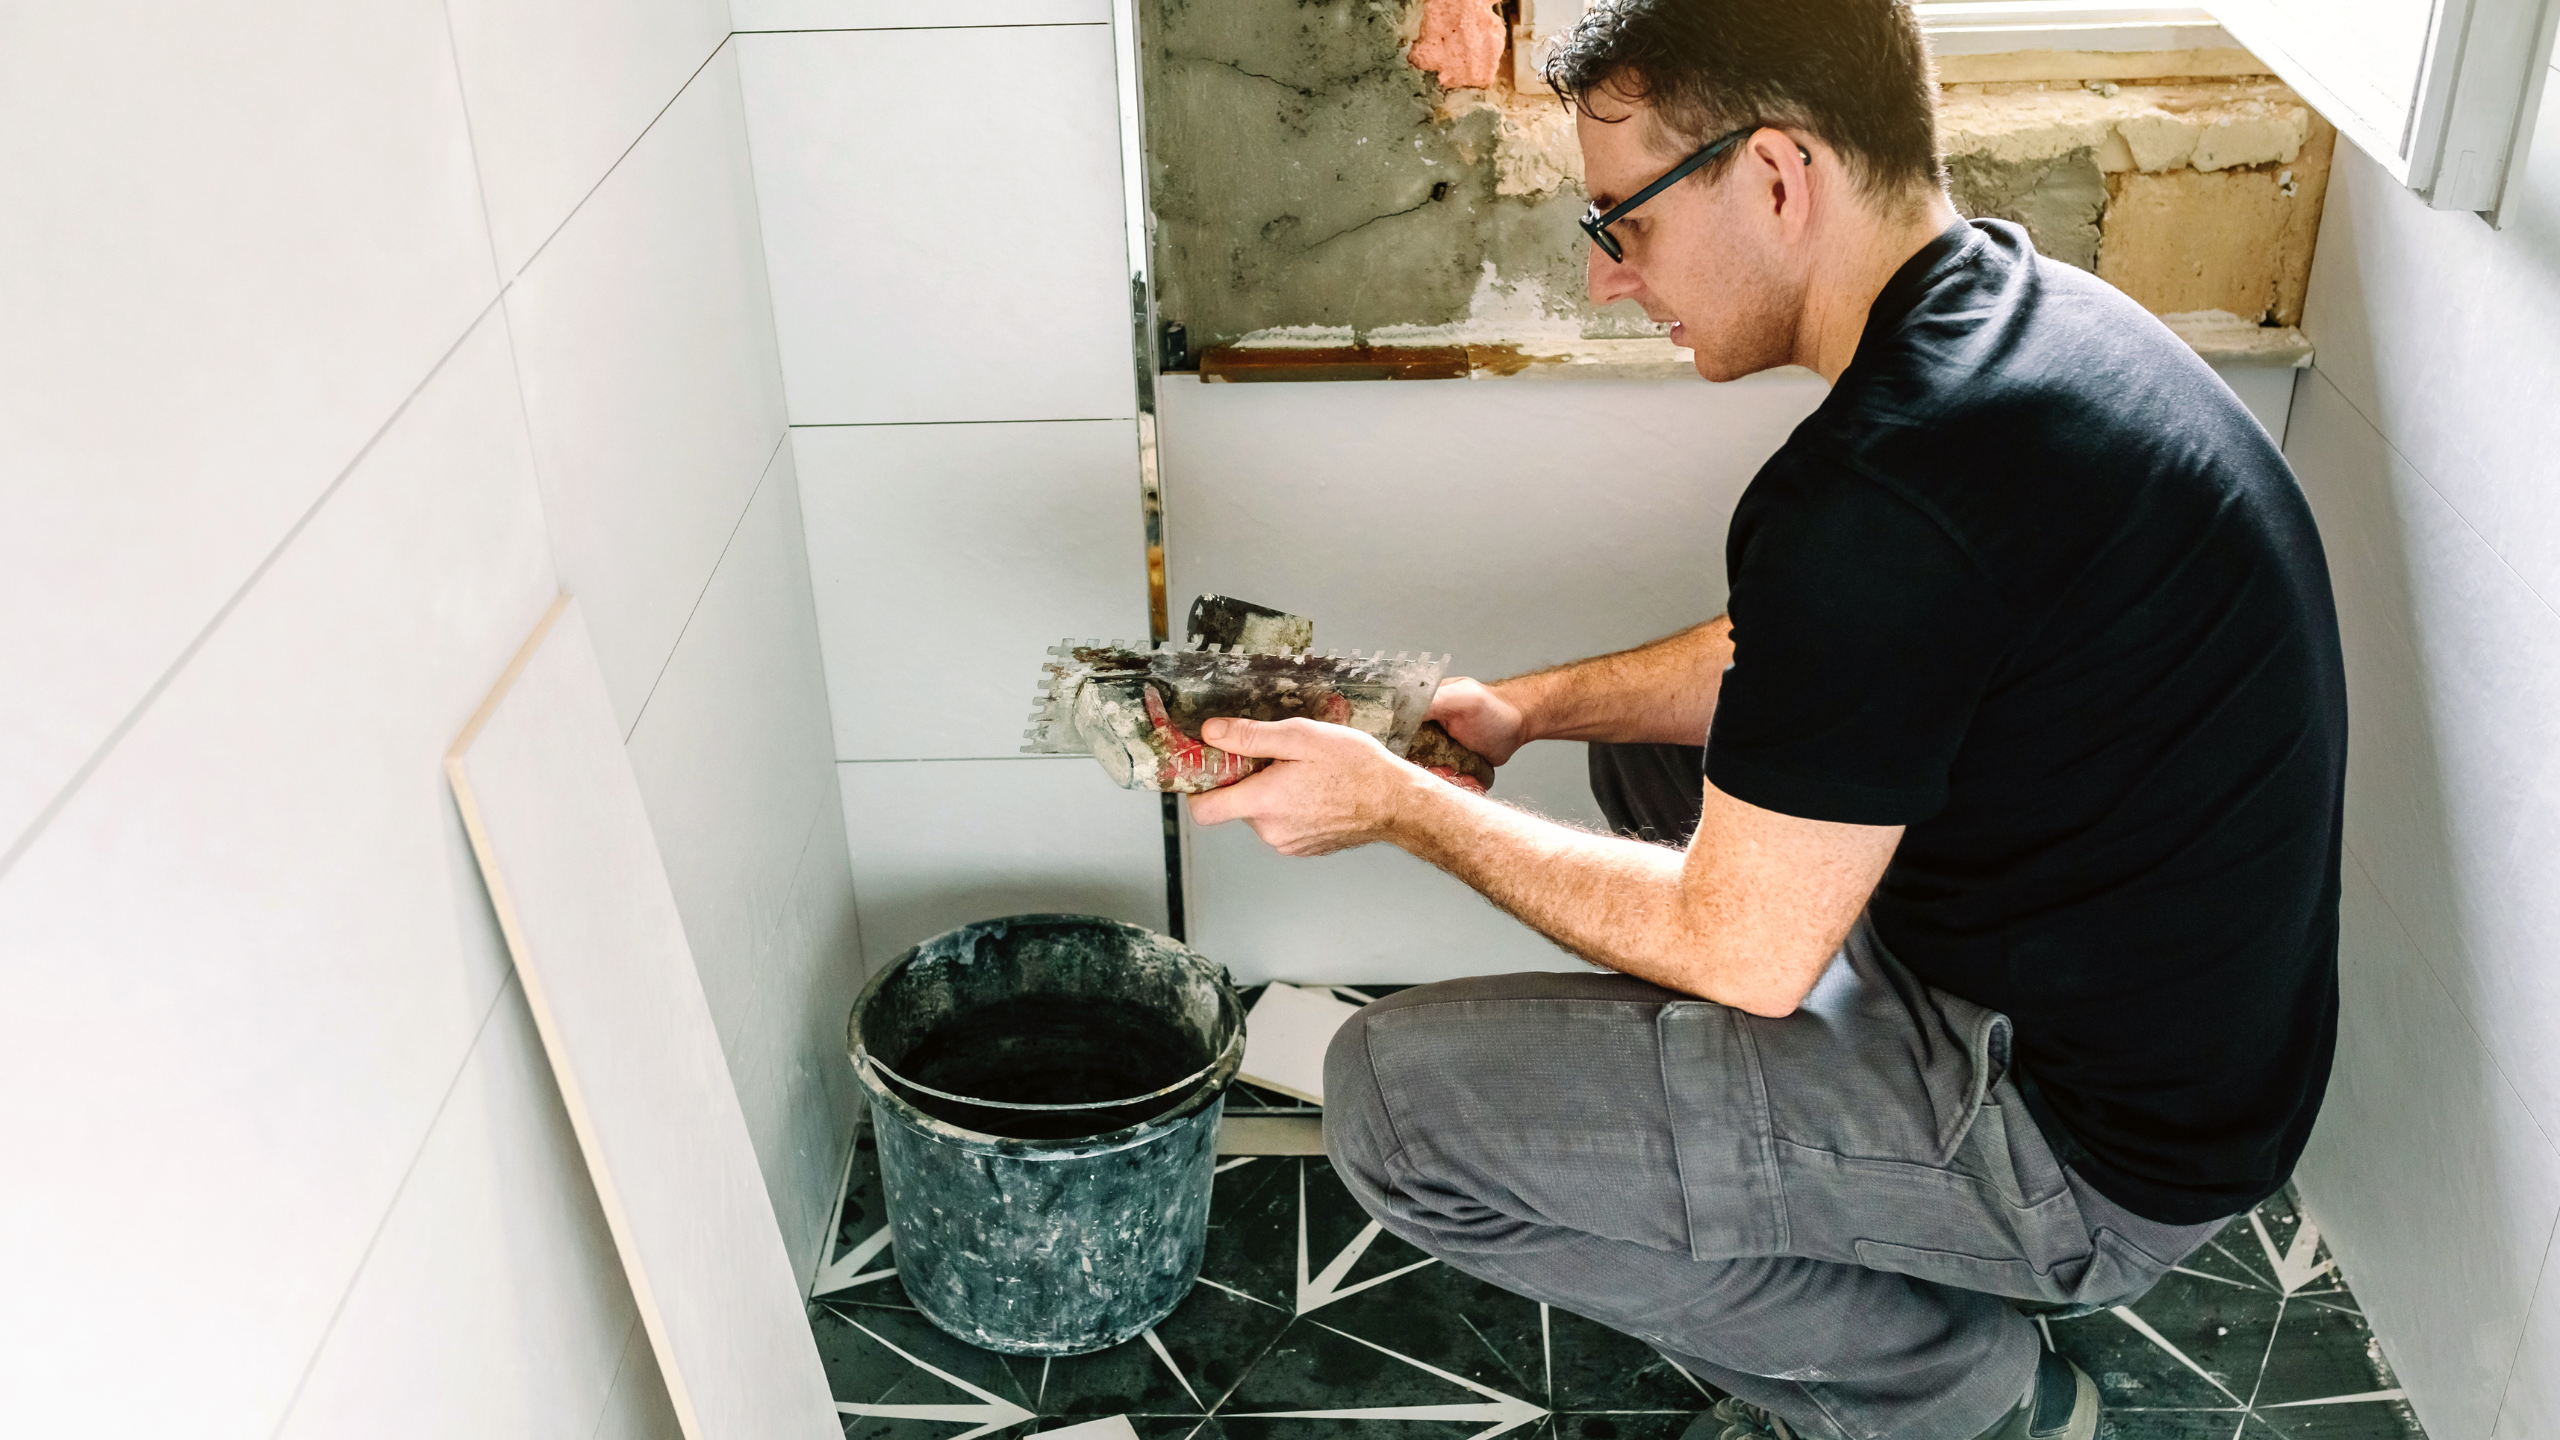
If you have a bathtub with tile around it, use an angle grinder to cut through all of them at once
Remove the tile by cutting through it with an angle grinder. Be sure to use a shield and wear eye protection during this process, as bits of debris will fly out from the blade. Use a reciprocating saw or other means to cut off any leftover pieces that are sticking up after you’ve removed all tiles around your bathtub.
Use a putty knife to loosen up any caulk that is holding down your bathtub by running it in between tiles until they pop out one by one
If any of your tiles are still sticking in place, this could be because caulk is holding them down. You’ll need to use a putty knife or other type of scraper tool to loosen up the old caulk so that you can pop out each tile individually.
After removing all pieces and grout from around the bathtub, it’s time to remove any leftover adhesive which may have been left behind by your previous contractor.
While you might consider performing your bathroom remodeling all on your own, consider just how much time you must invest in the project. It could take you quite some time to accomplish the remodeling. It’s far easier to leave the task to the professionals like us.
Call VT Lakewood Tub Reglazing & Refinishing in Lakewood New Jersey, and we’ll help you to get started! (848) 233-3008