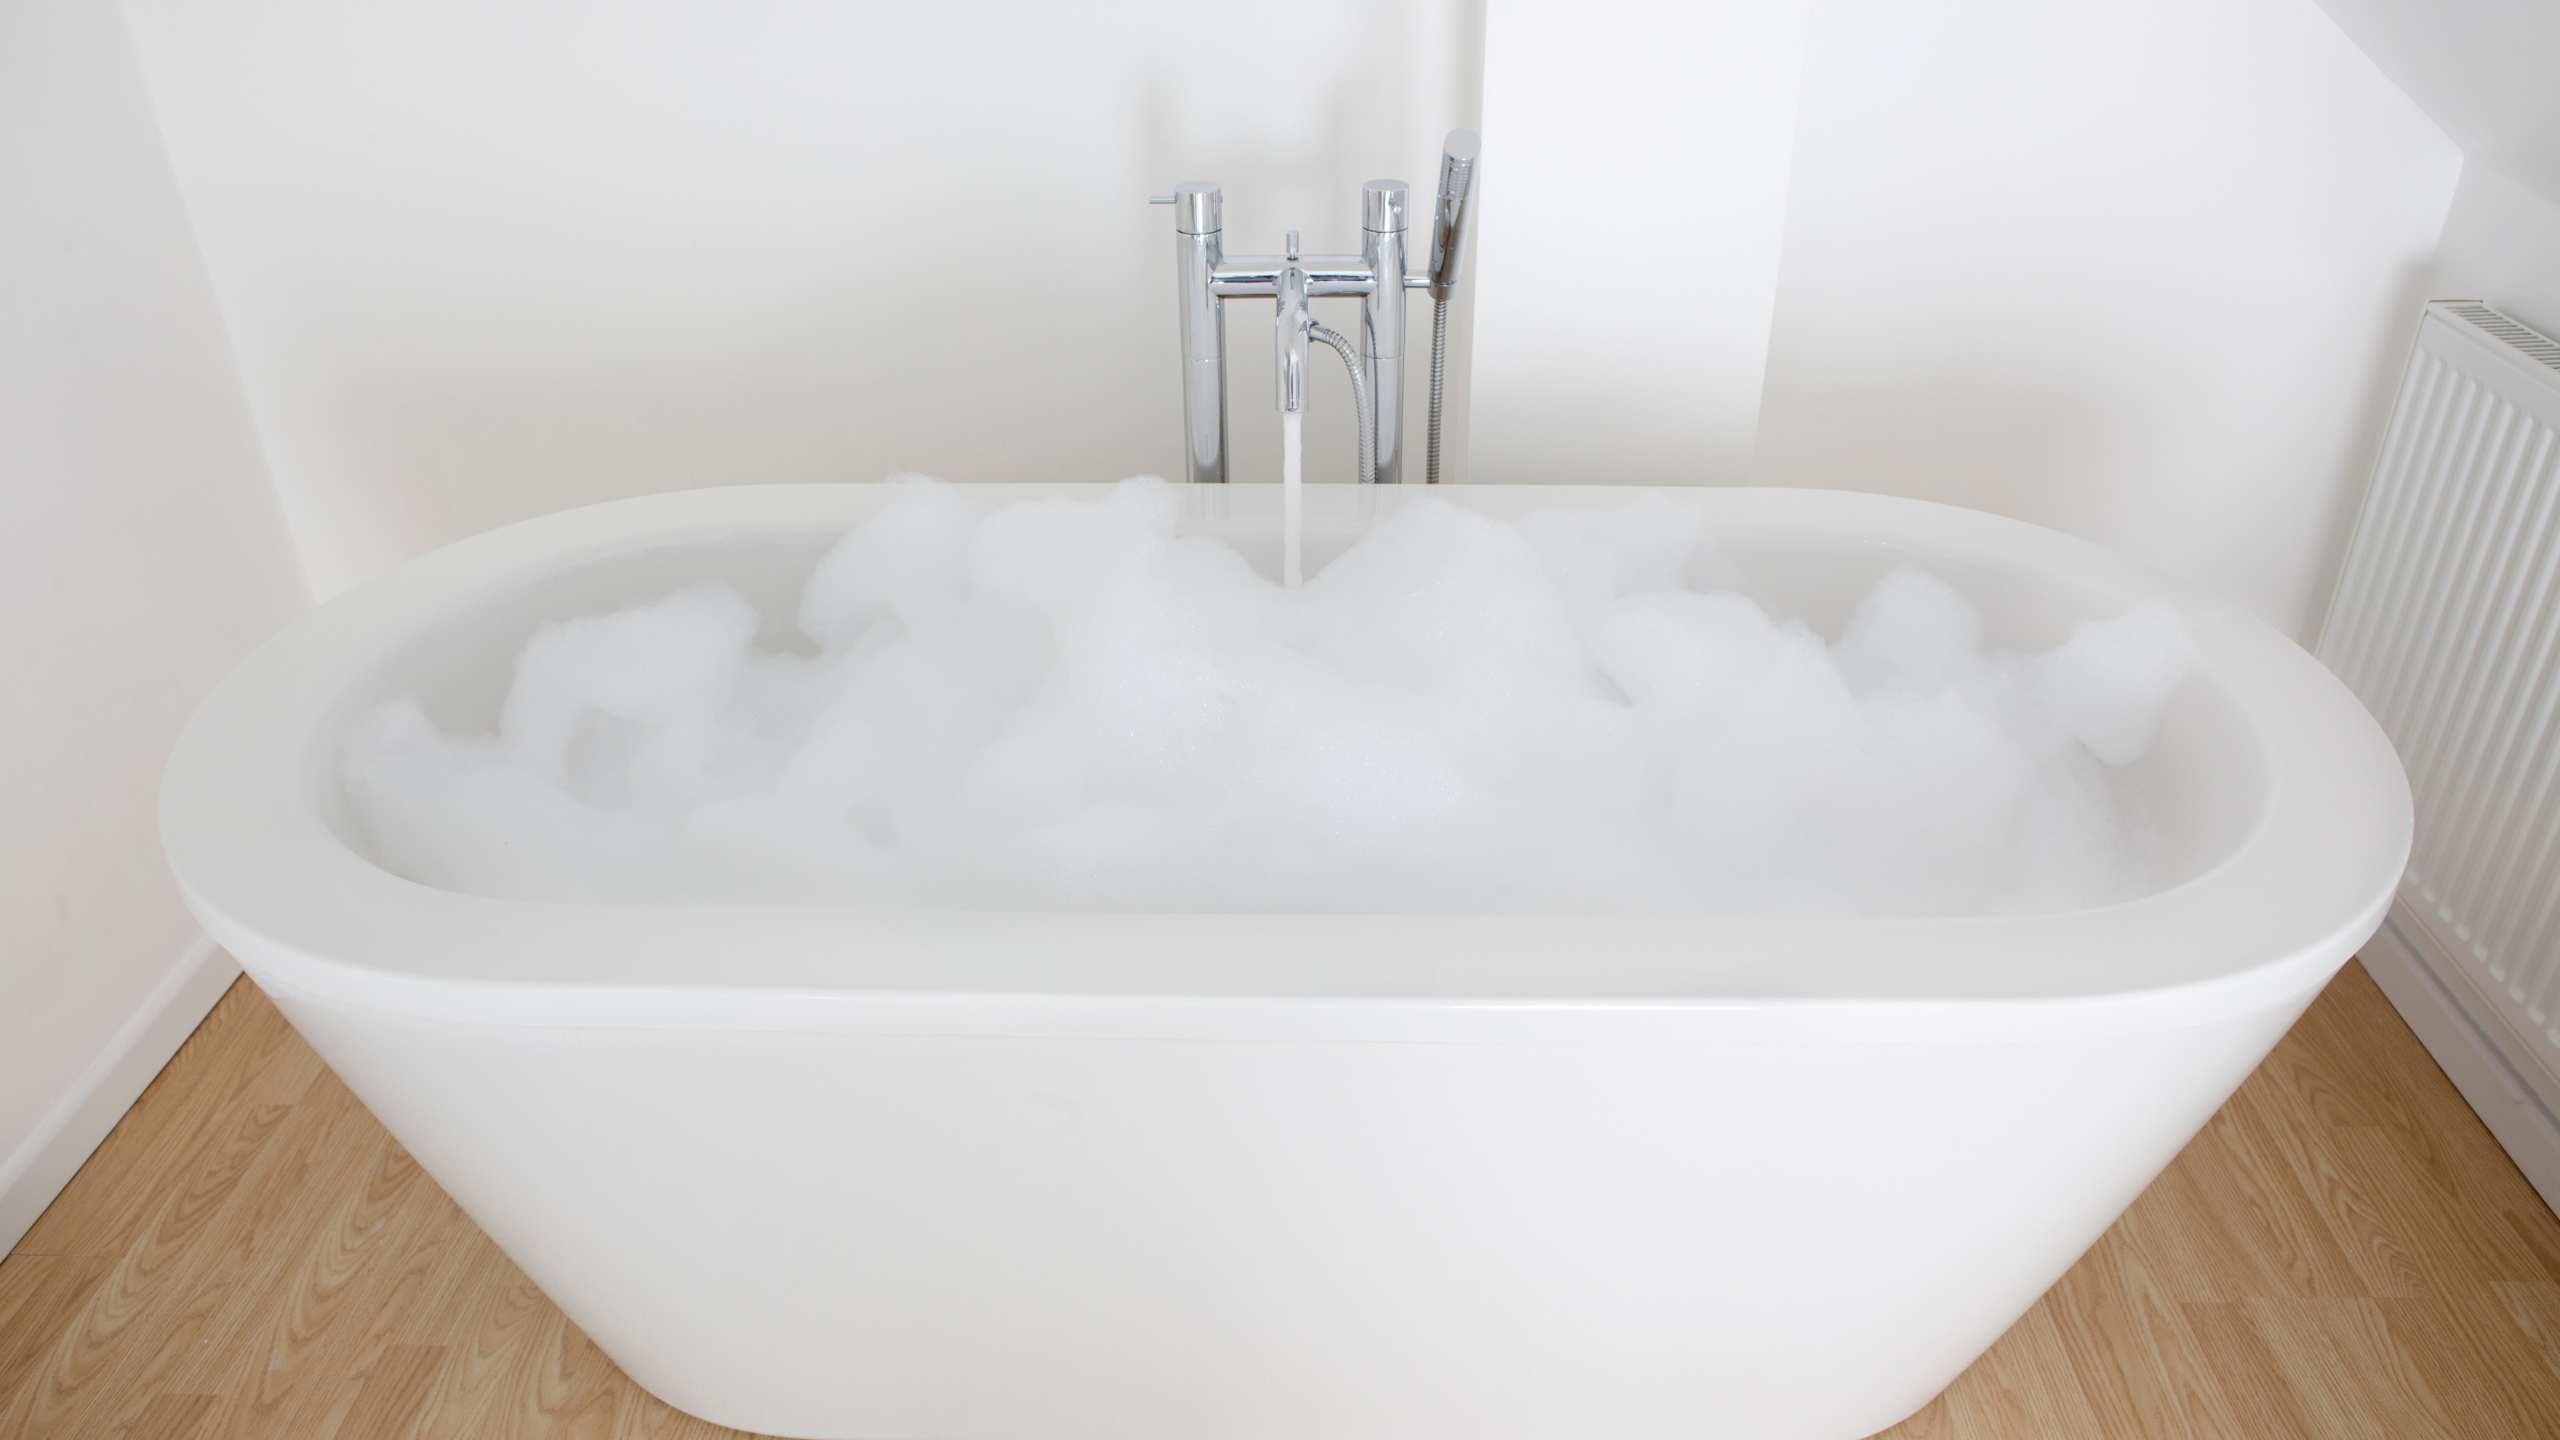

Do you have a small bathroom with an awkward alcove? A bathtub could be the solution to your problem! We know that installing a bathtub is no easy task, so we’ve outlined all of the steps in detail to make sure that it’s done properly. There are many benefits to adding a tub, such as improved water pressure and increased space for towels or other items.
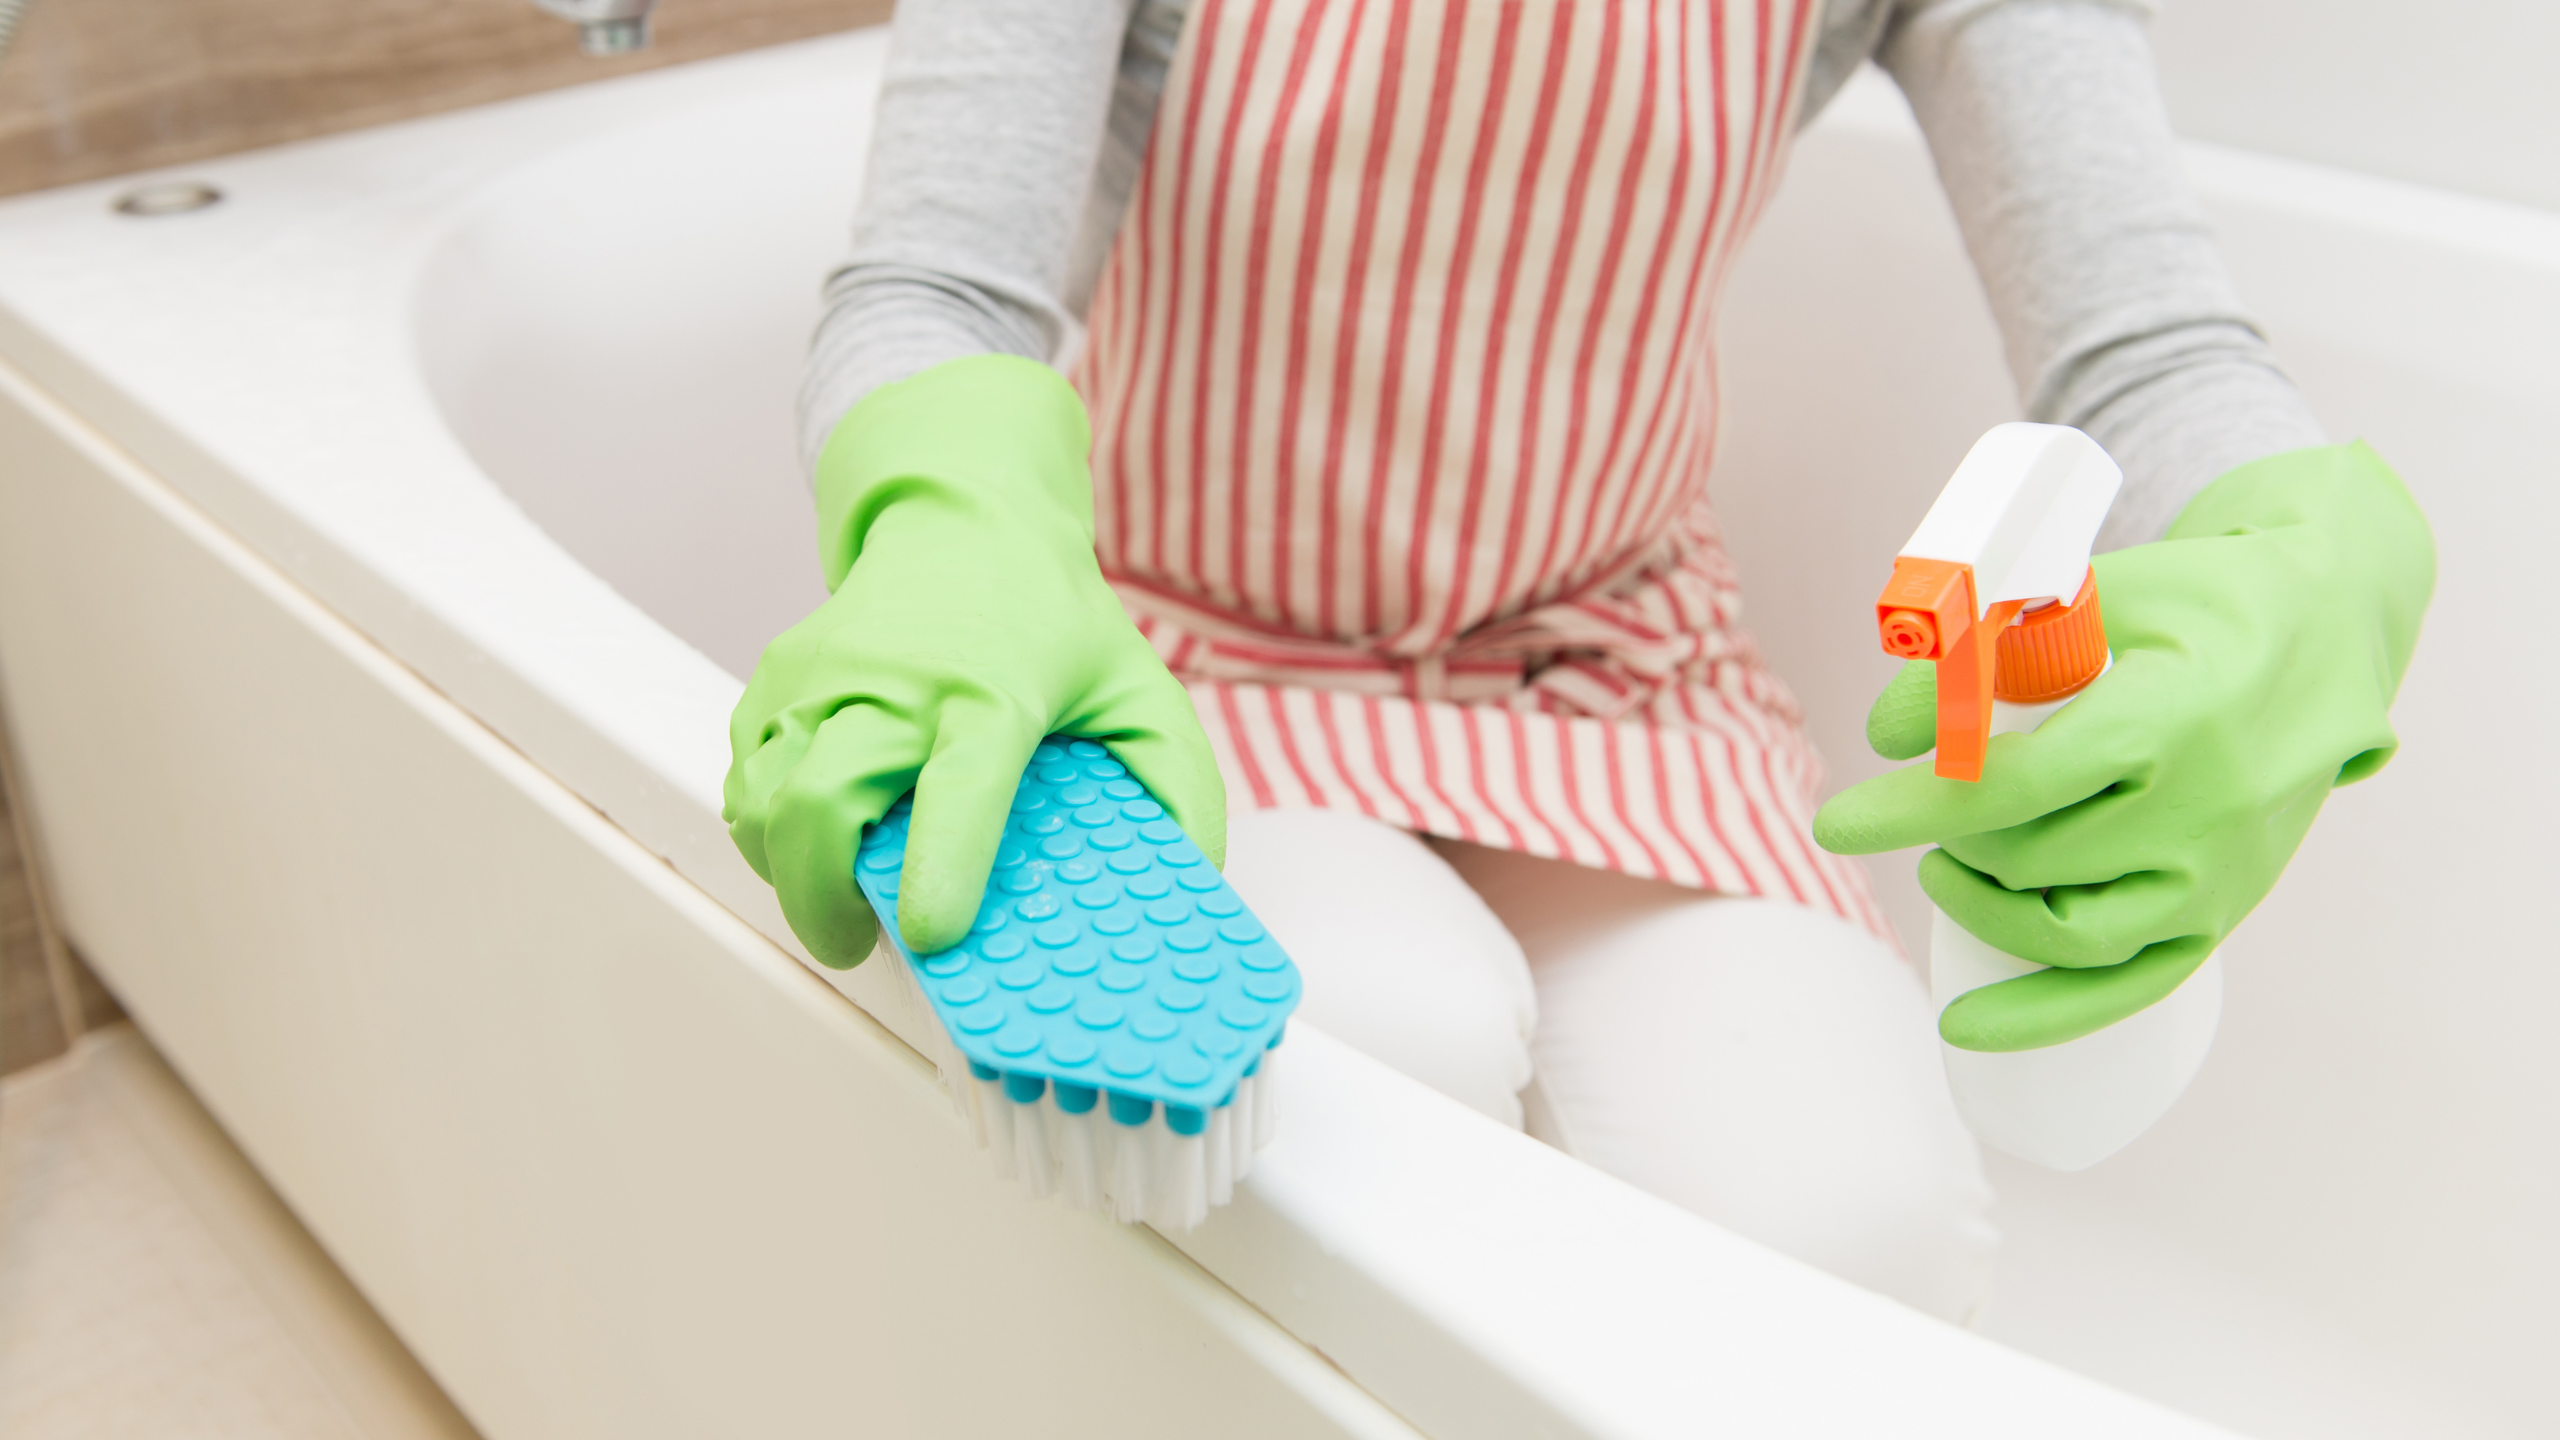
Your old tub has been looking dull for far too long – give yourself that spa-like feeling without even leaving home! Our knowledgeable team at VT Lakewood Tub Reglazing And Refinishing can help make these dreams come true in just one day: we offer professional services like refinished baths as well as showers so don’t wait another moment before starting on those renovations today.
There are many steps that need to be followed when installing a bathtub in an alcove. These include: Measuring the area of the alcove and making sure it is structurally sound. Pouring a concrete foundation for the tub and waiting for it to dry. Installing plumbing and electrical wiring as well as ventilation.
The best way to design your bathroom is by using a bathtub in an alcove. This will allow you to make the most of the space and create a relaxing oasis for yourself with minimal effort.
How to Install a Bathtub in an Alcove
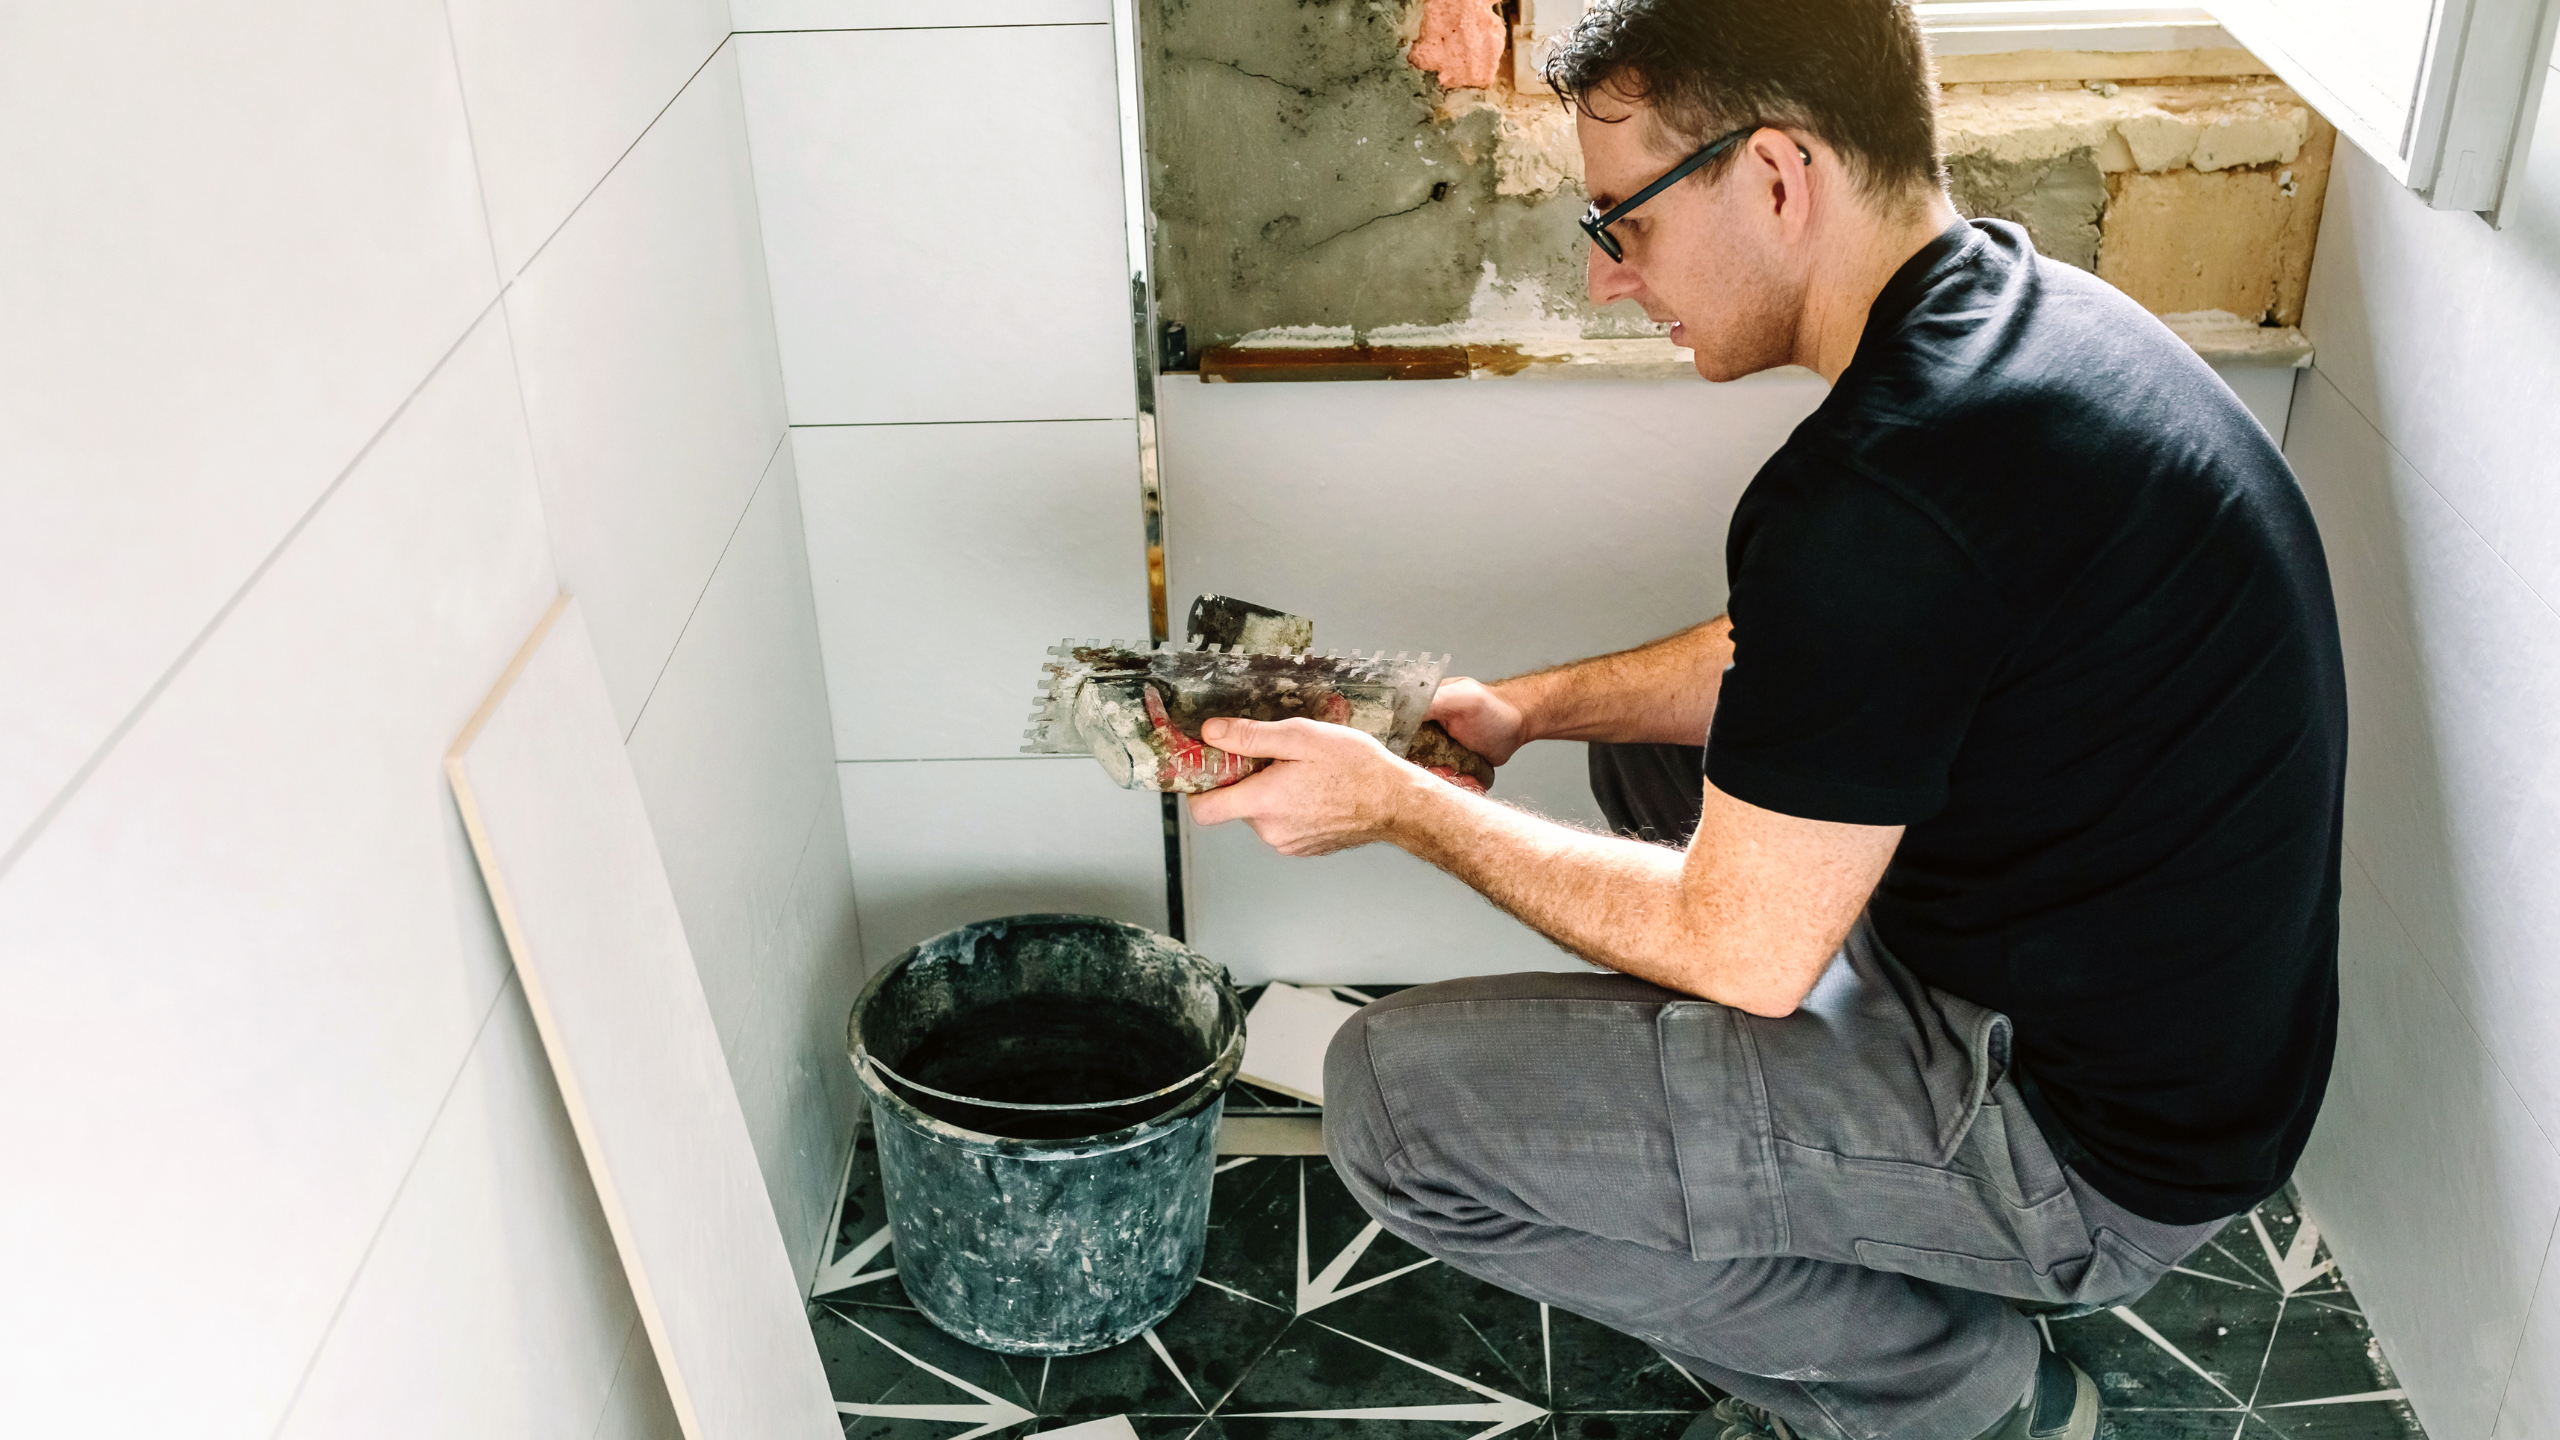
This is a tricky process, but we’re here to help. When installing your bathtub in an alcove, it’s important that you follow these steps carefully and accurately so as not to create any problems or potential hazards for yourself during the installation process.
1. Attach the faucet body and showerhead to the water supply pipes and attach the assembly to 1×4 cross braces before installing the tub. Trim the drainpipe to the height specified by the drain waste overflow kit manufacturer.
2. Place a tub-bottom protector, which can be cut from the shipping carton, into the tub. Test-fit the tub by sliding it into the alcove so it rests on the subfloor, flushes against the wall studs.
3. Check the tub rim with a carpenter’s level, and shim below the tub to make it level. Mark on the top of the nailing flange at each stud. Remove the bathtub from the alcove.
4. Measure the distance from the top of the nailing flange to the underside of the tub rim (inset), and subtract that amount (usually about 1″) from the marks on the wall studs. Draw a point when this occurs on each wall stud.
5. Cut ledger board strips and attach them to the wall studs just below the mark for the underside of the tub rim. You may have to install the boards in sections to make room for any structural braces at the ends of the tub.
6. Adjust the drain-waste-overflow assembly (usually sold as a separate kit) to fit the drain and overflow openings. Attach gaskets and the washers as directed by the manufacturer, then position the assembly against the tub drain and overflow openings.
7. Apply a ring of plumber’s putty to the bottom of the drain piece flange, then insert the drain piece through the drain hole in the bathtub. Screw the drain piece into the drain tailpiece, and tighten until snug. Insert pop-up drain plug.
8. Insert drain plug linkage into the overflow opening and attach the overflow cover plate with long screws driven into the mounting flange on the overflow pipe. Adjust drain plug linkage as directed by the manufacturer.
9. Apply a 1/2″ thick layer of dry-set mortar to the subfloor, covering the entire area where the tub will rest.
10. Lay soaped 1×4 runners, across the alcove so they rest on the far soleplate. The runners will allow you to slide the tub into the alcove without disturbing the mortar base.
11. Slide the tub over the runners and into position, then remove the runners, allowing the tub to settle into the mortar. Press down evenly on the tub rims until they touch the ledger boards.
12. Before mortar sets, nail the tub rim flanges to the wall studs. Rim flanges are attached either by pre-drilling holes into the flanges and nailing with galvanized roofing nails (top), or by driving roofing nails into studs so the head of the nail covers the rim flange (bottom). After rim flanges are secured, allow the mortar to dry for 6 to 8 hours.
13. Attach 4”-wide strips of galvanized metal roof flashing over the tub flange to help keep water out of the wall. Leave a 1/4″ expansion gap between the flashing and the tub rim. Nail the flashing to each wall stud, using 1” galvanized roofing nails.
14. Adjust the drain tailpiece so it will fit into the P-trap (you may have to trim it with a hacksaw), then connect it, using a slip nut. Install wall surfaces, then install faucet handles and tub spouts. Finally, caulk all around the bathtub.
However, this can be a tricky installation that requires professional help. The last thing you want is to have your bathtub fall into the wall or create a trip hazard for yourself or your family members.
You may want to check our other post about: Beginners Guide to Installing Bathtubs and Shower Fixtures
We at VT Lakewood Tub Reglazing And Refinishing specialize in installing new tubs in alcoves as well as replacing old bathtubs with walk-in showers. Our team of professionals has years of experience working with homeowners like you who need their old tub removed and replaced by a beautiful new one without having to tear out any drywall or tile from their walls. With our help, you’ll get the bathroom of your dreams while avoiding costly mistakes!
VT Lakewood Tub Reglazing and Refinishing is the best place in town for installing a bathtub in an alcove. Our team of experts will take care of everything from removing your old tub to installing your new one.
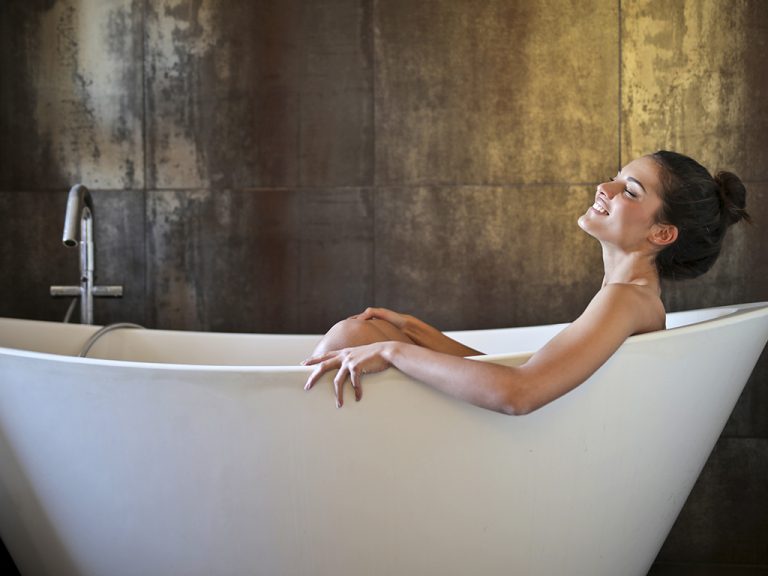
Let our experienced professionals handle all the work so you can enjoy your beautiful new tub with peace of mind. Give us a call now or fill out this form online, and we’ll get back to you as soon as possible!
Contact VT Lakewood Tub Reglazing And Refinishing today by calling (848) 233-3008.